

Easter is only a few weeks away. But the days are gradually getting warmer and there is also plenty of sunlight available again. Now is the ideal time to spruce up those mothballed summer wheels. This job is quite easy if you follow the right steps. Read this article to find out how to make your alloy wheels fit for the next season.
Alloy wheels for summer
Alloy wheels and summer tyres go together like cherry pie and cream.
Driving around with alloy wheels in winter is negligently stupid already. Uncoated, the rims can actually be disposed of after the first drive through salted winter roads.
In summer, the stylish rims really come into their own with the right tyres.
Therefore: Always use steel rims in winter! Not only are they cheaper, they are also easier to refurbish than alloy wheels.
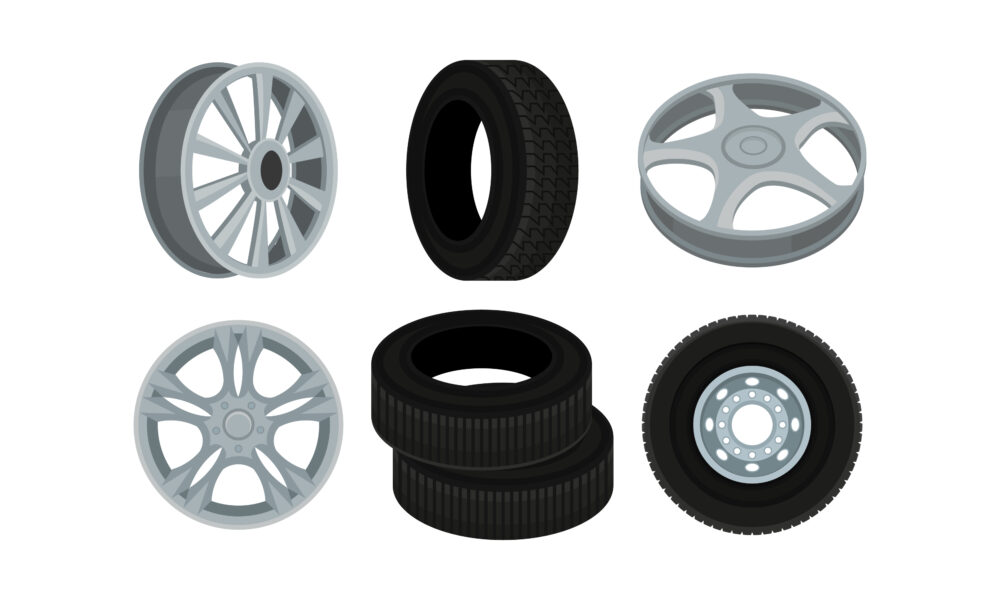
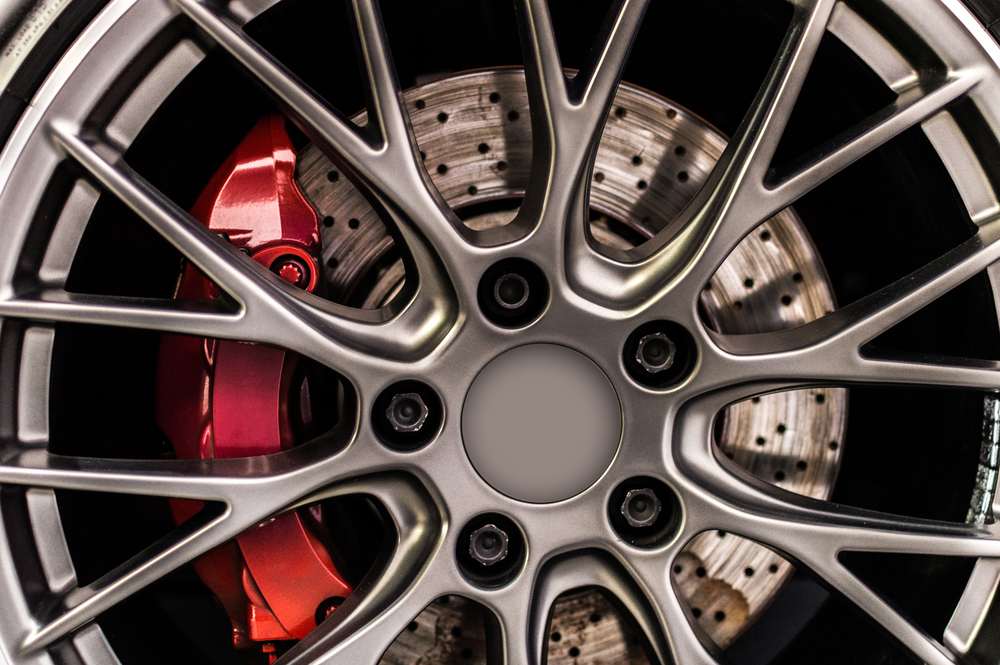
A car wheel consists of a tyre and a rim. So, before you start cleaning, first check the wheel for damage. These can be:
– Brake plates on the tyre
– Nails that have been driven in
– Cracks in the bars
– Quirks in the rim tread
– Dents on the tyre sidewall
– Worn tread or expired tyre date
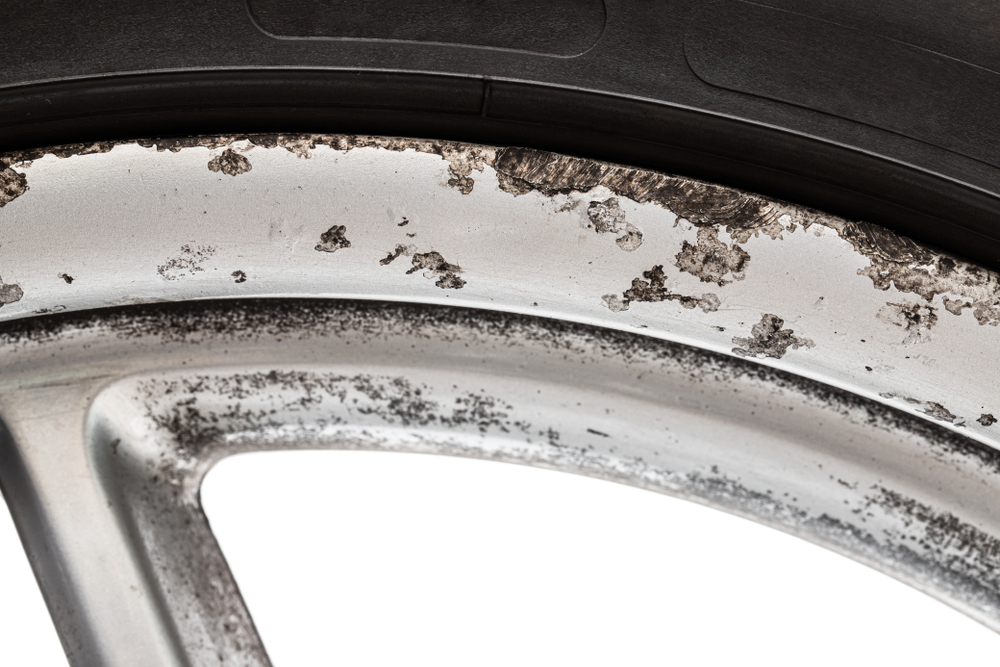
If you notice damage to the tyres, first pull them off and order a replacement.
Cleaning the alloy rim is easier anyway with the tyres off. However, if you notice structural damage, i.e. broken edges or deep cracks in the rim, do not continue to use it under any circumstances. If they are high-quality pieces, you can have them reconditioned at a specialist rim repair shop. There, cracks and corners are welded shut and sanded down.
As this is a rather expensive procedure, a complete reconditioning of the rim is usually included.
If in doubt, replace the rim with an intact piece.
If the tyres and rims are in order, the next step is to clean them.
Aluminium as a material
The aluminium material has some special properties that are important to know when cleaning rims:
– Corrosion-free
– Light metal
– Sensitive to salt ingress
As soon as aluminium comes into contact with air, it seals itself with a thin layer of aluminium oxide. This layer is very strong. However, this self-sealing is not sufficient for the hard-everyday life of a rim. The light metal should therefore always be additionally coated. To retain the characteristic aluminium look, a coating of clear lacquer is ideal.
However, if the alloy wheel can be coloured, powder coating is the quickest, easiest, most durable and cheapest solution.
Set goals
When cleaning wheel rims, it depends on what you want to achieve: Is it enough for you to make the rim fit for the summer or do you want it to shine ready for sale?
Preparing the rim for your own use is much easier than if you want to offer it for sale. Because the main problem with rim cleaning is not on the visible front side, but on the hidden back side: brake dust! Every time you apply the brakes, the rotating brake disc wears off some of the brake pads.

Brake discs new • Discountercheaper up from only £ 9,31go to shop ⇒ |
This creates a fine dust that is thrown away from the brake disc like a projectile. This is particularly fatal for the soft metal of the alloy wheels: the dust particles bore deeply into the surface, creating a plaque that is almost impossible to remove with normal means.
However, since this affects an area that is not visible anyway, superficial cleaning is usually sufficient here. If the rims are not to be sold, spending hours at this point is a real waste. After the season, the rim will look exactly the same on the back again anyway.
Preparation

Even if the rim is only to be prepared for the summer, it is best to clean it in a dismantled state. For a thorough and lasting cleaning and polishing you need the following:
– Large tarpaulin
– High-pressure cleaner
– Rinsing brush
– Rim cleaner: 1 x neutral cleaner; 1 x phosphoric acid
– Cordless screwdriver with plastic brushes
– Polishing machine
– Sponge and cloth
When everything is ready, you can start.
Deep cleaning of alloy wheels
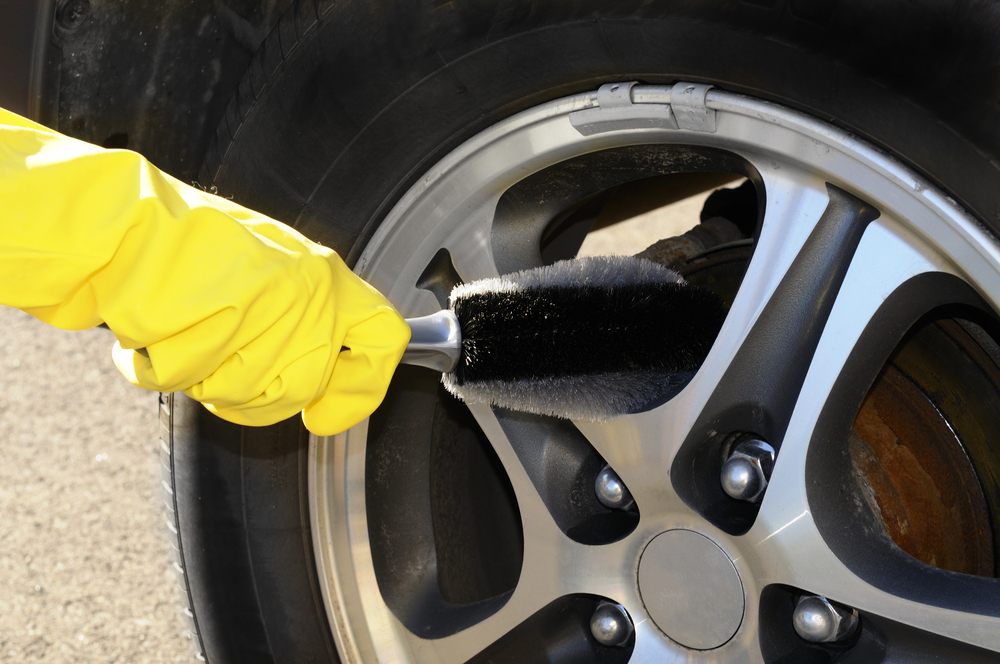
Step 1: Pre-cleaning
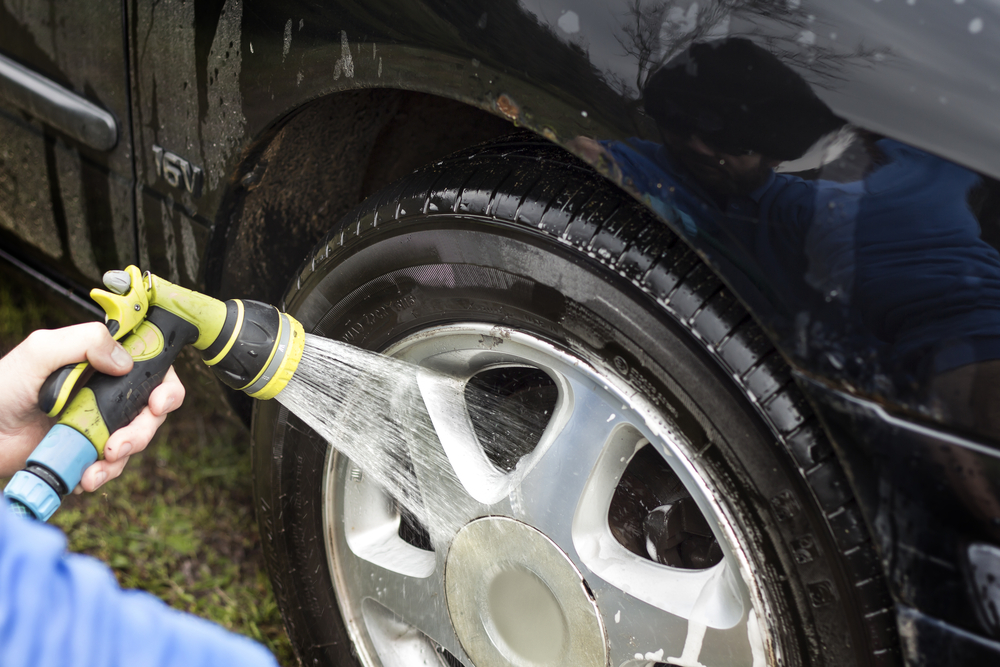
The rim is roughly pre-cleaned with clear water and a rinsing brush. This removes all loose adhesions and other dirt.
Step 2: Spraying
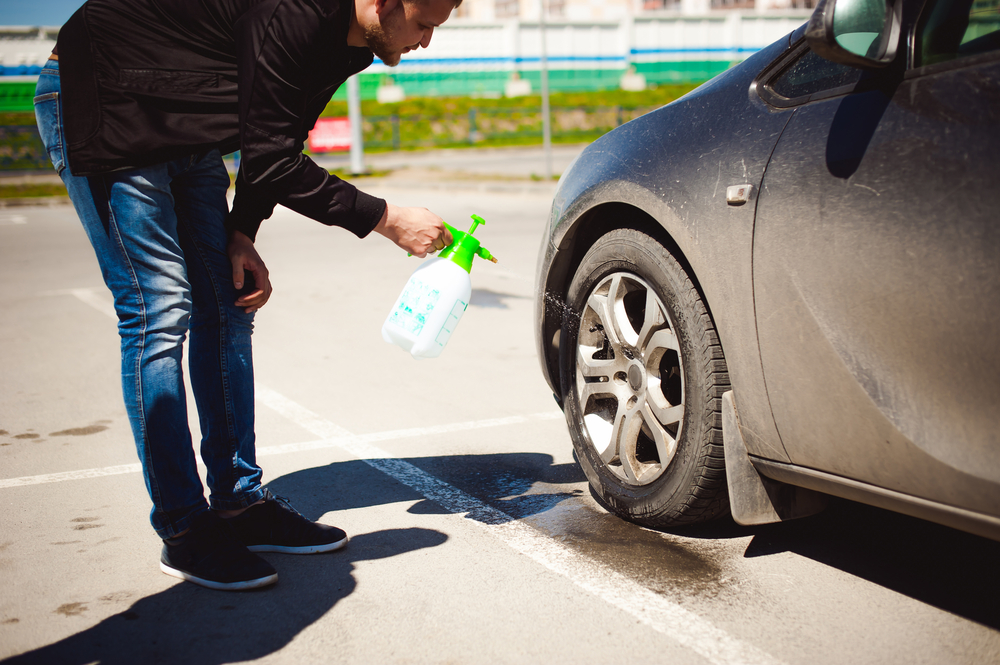
In the first step, spray the wet rim with a mild rim cleaner (neutral soap) and leave it to work for 10 minutes. Afterwards, the now loosened dirt is removed again with the rinsing brush.
Step 3: Blasting
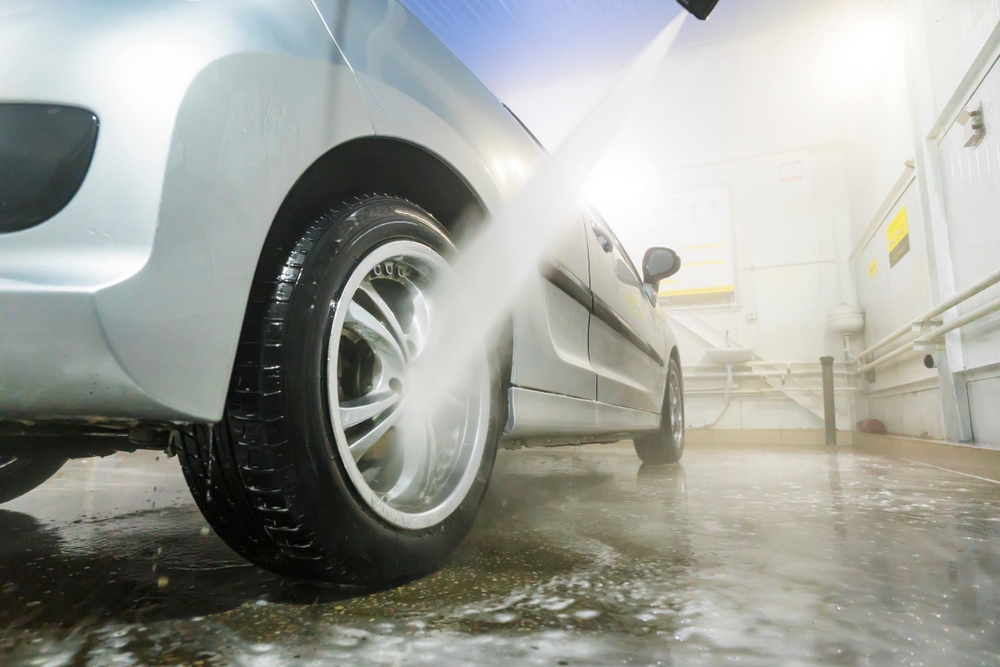
Now remove the loosened and dissolved dirt with the high-pressure cleaner. Be careful near the balance weights! As soon as one is lost, the whole set of tyres must be rebalanced! If you discover adhesive traces of lost balance weights, you must have the wheels balanced before mounting them.
Step 4: Etching
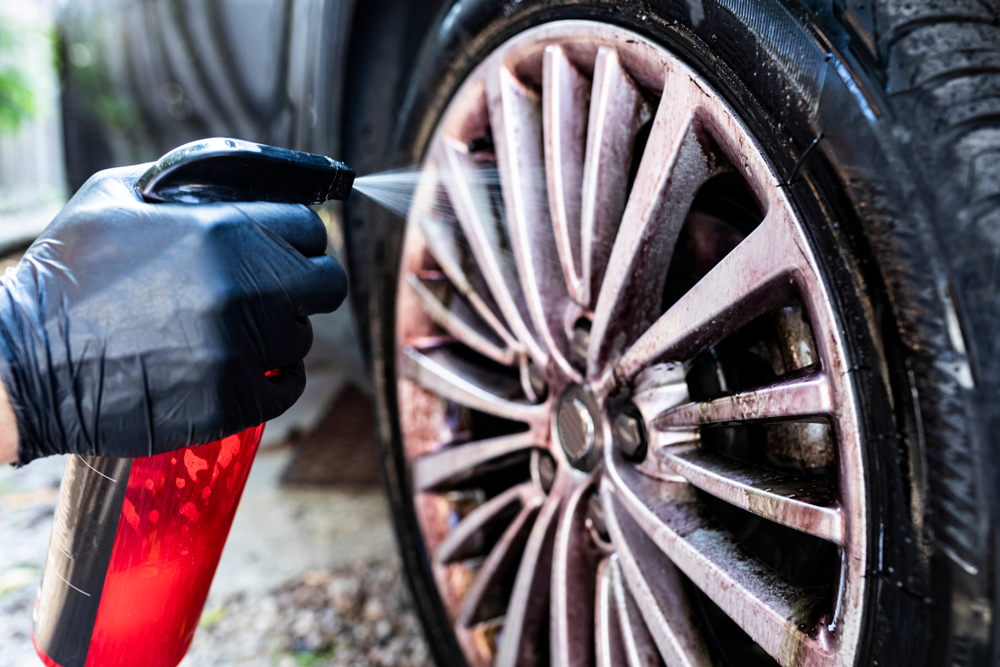
Now use a rim cleaner containing phosphate to remove the deep, baked-on dirt. Don’t worry – as long as you use commercially available cleaner, the phosphoric acid is harmless to tyres, paint and rims. Still wear gloves and long-sleeved shirts when doing this work. Leave the rim cleaner to work for a long time. Particularly dirty areas with caked-on brake dust can be left to work overnight.

Step 5: Washing
Rinse off the rim cleaner with soapy water. Anything that is still there should be removed manually. A cordless screwdriver with a plastic brush head is suitable for this. However, always make sure to use a brush material that is softer than the aluminium of the rim. With a brass or steel brush head, you will very quickly scratch the rim beyond repair!
Repeat the steps until you are satisfied with the result.
Rim preparation
A clean rim is not a beautiful rim. Invest a little more time and effort and you will get an excellent result.
Reconditioning Part 1: Sanding
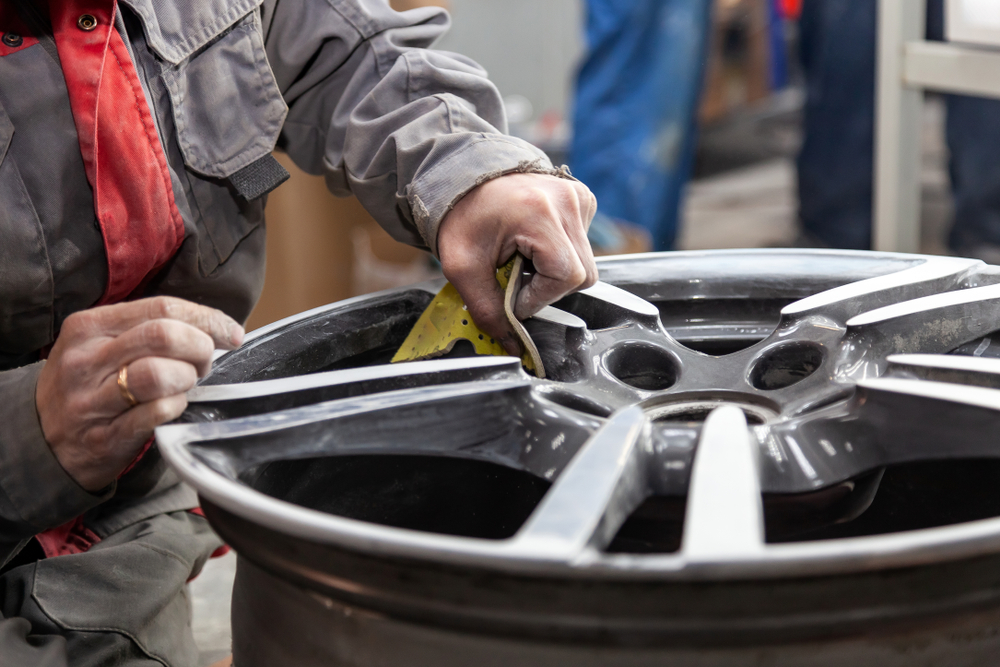
A reconditioned rim only shines beautifully if it has been thoroughly polished beforehand.
- The good news is that aluminium can be polished to a chrome-like mirror finish.
- The bad news is that it is a terribly strenuous job to do by hand! Especially on rims with a filigree pattern, you won’t be able to manage without machine help.
However, a standard drill is sufficient for a good result. First, the rim is sanded down. This removes the old paint and eliminates deep scratches.
For sanding an alloy wheel, use 600 grit sandpaper in the first pass, 800 grit sandpaper in the second pass and 1200 grit sandpaper in the third pass.
When the rim has a uniform, matt look and no more scratches are visible, it is ready for polishing.
Reconditioning Part 2: Polishing
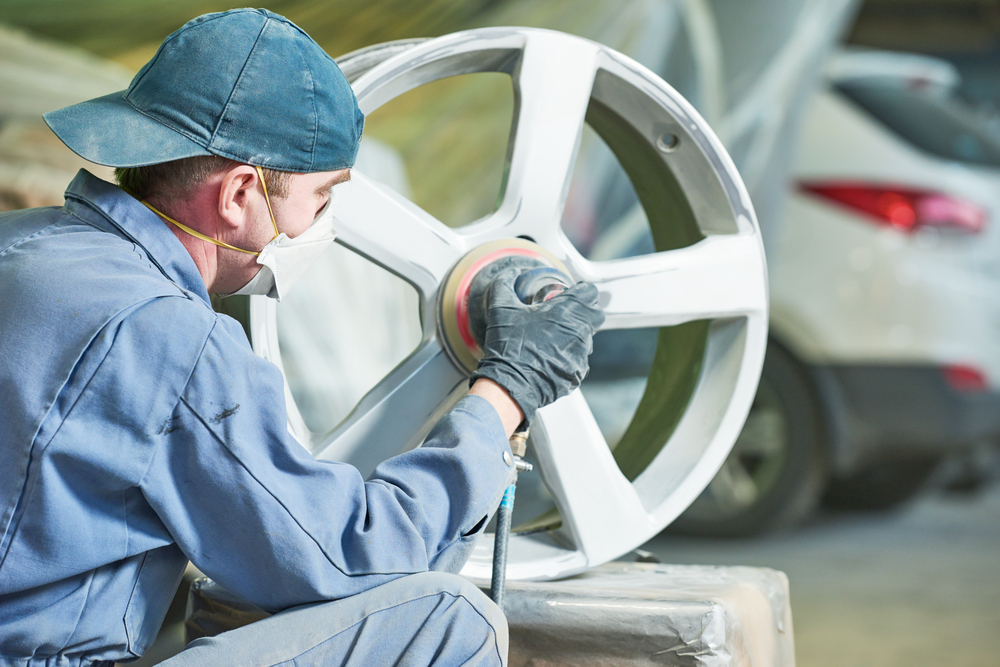
To polish the rim, you will need:
– Drilling machine
– Polishing attachment
– Glass cleaner and cloth
– Aluminium polish
– Eye protection
– Second key point
When polishing with the drill, make absolutely sure that you only touch the rim with the polish attachment. If you hit the rim with the drill, you will quickly scratch it! Before each new pass, spray the area with the glass cleaner and wipe off the dust. You should expect at least 45 minutes of work per rim for a good result if you do not have a balancing machine or lathe at your disposal.
Reconditioning Part 3: Sealing
 Sealing the polished rim is fortunately quite easy nowadays. Clear lacquer is hardly ever used for this purpose nowadays, as it chips off quickly in this highly stressed area anyway. Today, the market offers numerous products for sealing alloy wheels.
These special rim sealants are simply sprayed on. Their disadvantage is that they do not last too long. It is therefore advisable to renew this sealant every 4 weeks as part of a car wash. This is usually enough to keep your car’s alloy wheels looking shiny all summer long.
Foto: tomgigabite, Kazick, HappyPictures, JacZia, Aleksandr Kondratov, Media Whalestock, Elena Zajchikova, Tomasz Majchrowicz, diy13, evgeniykleymenov, Daniel Krylov, Dmitry Kalinovsky / shutterstock.com

 (29 votes, average: 4.55 out of 5)


