

As a car driver, you develop a particularly sensitive ear for all the noises your vehicle produces. After all, every new squeak, rattle, creak, or knock may be the first sign of capital damage. However, it is often very small causes that create an annoying noise. The boot damper proves to be a real nuisance in this context. However, this defect can be treated easily and inexpensively.
Strangely enough, this phenomenon occurs regardless of the price class of the car. Even a £70,000 coupé can start creaking at this point after a few months.
Function of the boot damper
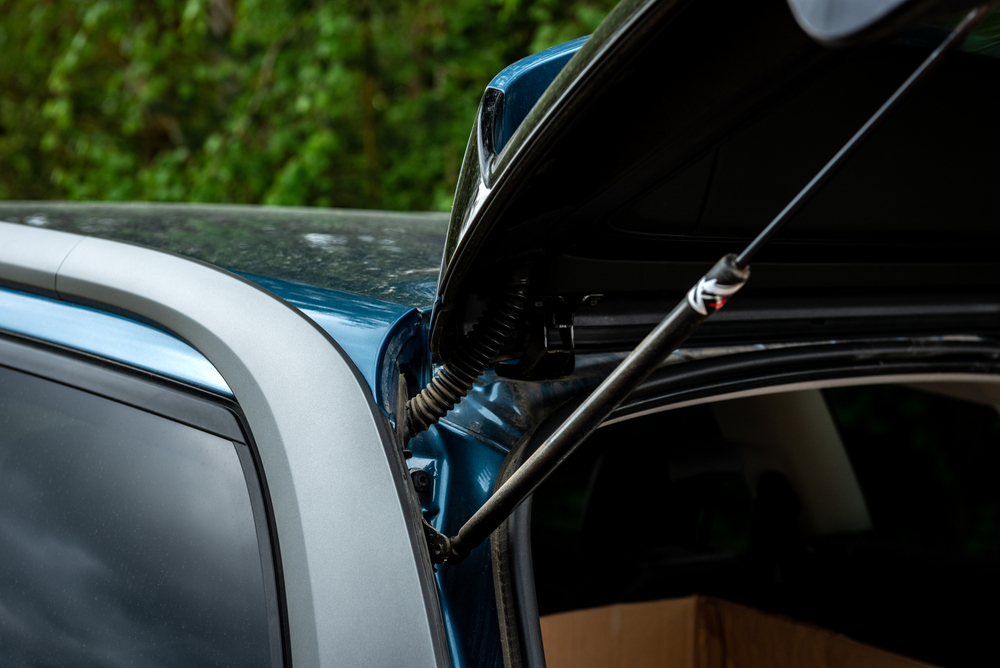
The boot damper is a gas shock absorber. It is used to support the lifting of the heavy tailgate or boot lid.
It consists of the following components:
– ball joints
– retaining clips
– gas-pressure cylinder
– pistons
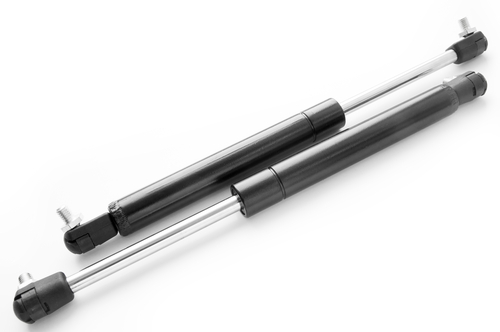
The ball joints are mounted onto the cover and the bodywork. Their round shape serves to keep the damper rotatable. To prevent the damper from jumping out of the joints, it is held in place by clips. The gas-pressure cylinder is “preloaded” with gas. This means that it is under high pressure even when the piston is fully extended. Therefore, you should never drill into a boot damper.
This is especially true for the shock absorbers on the wheels. There is otherwise a risk of injury, especially to the eyes. The piston compresses the preloaded gas even further when it is retracted. At the same time, however, the boot lid acts like a lever. When closed, the lever force of the lid is greater than the tension force in the gas damper. The two forces are matched precisely to each other. The damper only has a supporting function. Under no circumstances should it be able to open the boot automatically.
This ensures that the lid remains closed if the lock fails while driving. Only when opening does the force ratio between the lever action of the lid and the tensioning force in the gas cylinder shift. From about halfway through the opening angle, the ratio reverses, and the two boot dampers push the lid all the way up.
Defects in the boot damper
The boot damper holds its pressurised gas in position by means of sealing rings. These seals are made of rubber, which can become brittle and cracked over time. Then the damper loses its effect.
You can notice this quickly: opening the boot becomes considerably more difficult and the lid closes much more forcefully. In addition, you hear a strong sucking noise when opening – or no noise at all. Then it is high time to replace the damper. The unpleasant creaking and squeaking do not come from the failing damper, but from the ball joints.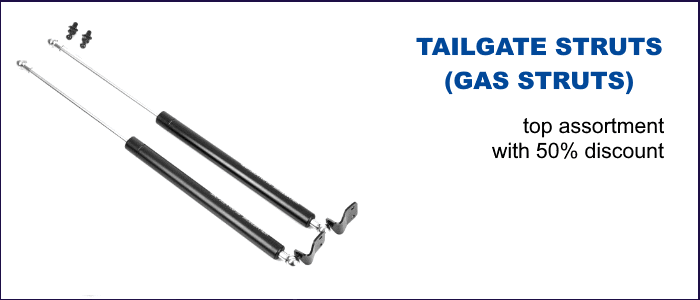
Cause of creaking dampers
Creaking of the dampers occurs when the grease in the ball joints loses its ability to slide. The ball joints are unprotected. Dust can penetrate unhindered and is caught by the grease. If the amount of dust has become too great, the grease becomes crumbly and can no longer fulfil its lubricating task. Then metal rubs on metal, which leads to the unpleasant noise.
Regrease before replacement
If the lifting function of the damper is not affected, there is no need to replace it. In this case, a very simple, minor maintenance is sufficient to give the car back its noise comfort.
You will need the following tools:
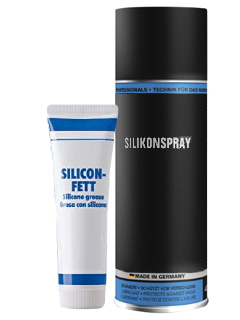
– silicone spray and silicone grease
– a cloth
– cotton swab
– slot screwdriver
– squared timber
To regrease the ball joints, the dampers should be removed. First overhaul one side, then the other.
 1. First open the boot and secure it with the square timber against falling shut. 1. First open the boot and secure it with the square timber against falling shut.2. Once one damper is removed, the remaining damper does not have the strength to hold the lid open. This makes working at this point very uncomfortable. 3. Using a square timber or shortened broom handle in the boot is an excellent way to support the lid without fear of damage to the sheet metal or paintwork. 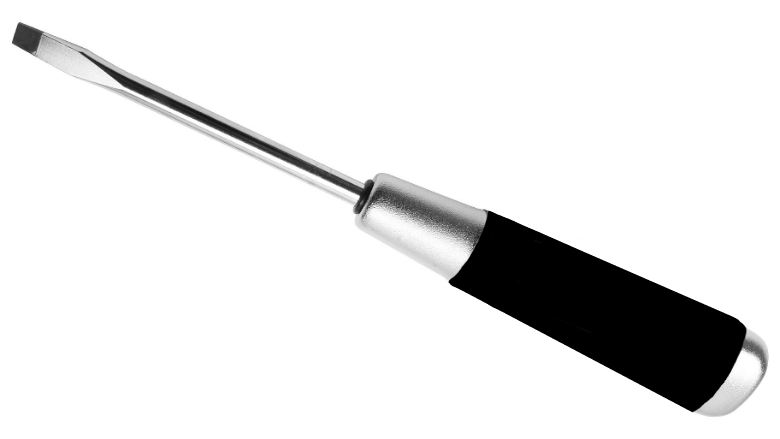 4. Use the slot screwdriver to lift the clips and move them outwards. It is not necessary to remove the clips completely. This only makes their installation more difficult. 4. Use the slot screwdriver to lift the clips and move them outwards. It is not necessary to remove the clips completely. This only makes their installation more difficult.5. The damper can now be easily pulled out from the side. 6. Now spray the ball joints with silicone spray and clean them thoroughly with a cloth. 7. Then rinse out the ball joint mountings on the damper and clean them with the cotton swab. 8. Finally, fill the mountings generously with silicone grease and remount the damper. 9. Then it is the second damper’s turn. When both dampers are fitted, spray the piston rod with silicone spray. 10. Now open and close the boot several times until the noise has disappeared. |
If the damper was defective, simply replace it with a new part. Now all you need to do is remove excess grease from the mountings and it is done.
Additional work
 If you already have silicone spray and grease at hand, you can treat a few other places in the boot.
The latch of the boot lock is located on the lid and tends to get dirty as well. Simply rinse it with spray and clean it again with a cloth.
Then re-grease it and spread the grease by closing and opening the lid several times. The rubber seals in the boot should be treated with silicone spray at the latest after changing to winter tyres. This prevents them from freezing in frosty conditions.
Otherwise, opening the lid too forcefully can either tear the rubbers or damage the handle of the boot. Both are unnecessary and expensive repairs that can be prevented with a few squirts of silicone spray.
Finally, you can do a little boot check:
– Check the completeness of the on-board tools
– Check the first-aid kit’s shelf life
– Check the condition of the warning triangle and waistcoat
With these small checks, you can avoid unnecessary trouble and fines in the event of a police check. These points are also relevant for the general inspection. This way, you can save yourself a lot of unnecessary extra work.
Foto: Foto: Kryuchka Yaroslav, natali_ploskaya,BACHTUB DMITRII, librakv / shutterstock.com


