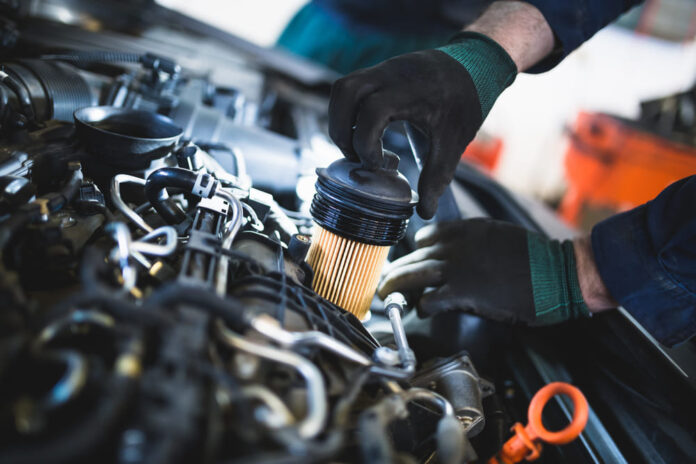
Engine lubrication is very important. If the lubrication film is lost, the so-called piston seizure might occur. The used oil is not 100% pure and therefore needs filtering. This is where the oil filter comes in, with its fine pores filtering the main dirt particles. If it is clogged, it should be replaced without delay. We explain how you can replace the oil filter yourself and what is the best combination of oil and filter.
Why is it necessary to replace an oil filter?
 A worn and used oil filter at the end of its life can no longer maintain the flow and the filtering performance because of its clogged pores. In the most extreme cases no oil flows through at all. In that case, a protection valve opens, causing unfiltered oil to enter the engine. If you continue driving more than several miles like this, dirt particles can cause minute scratches in the metal eventually leading to engine damage. Thanks to modern technology, the replacement interval for oil filters has increased significantly. Choosing a quality product, you can count on a performance of up to 60.000 km.
Particular features of an oil filter
Most oil filter properties such as the applicable screw thread and its volume are stipulated by the car manufacturer. However you can determine the following features yourself:
| – You have a choice between screw-on oil filters and filter cartridges. The former are easier in maintenance and fit in every car. For filter cartridges filter housing must be present. It can be prepared together with the cartridge prior to replacement. |
| – An integrated non-return valve prevents the oil from flowing back into the pump when the engine is switched off. This minimises deposits and the oil flow will start quicker. |
| – Safety valves can compensate for possible pressure fluctuations of the oil pump, causing a longer life span of the engine. However, in an adequately functioning oil pump, these fluctuations should hardly ever occur. |
| – Filter medium with housing perform the main task and determine the life span. Some dealers give an indication of the life span, others don’t. Generally, quality products are advertised as durable and last a long time. If you are not certain, please read the product test information or maybe rely on a more expensive brand. |
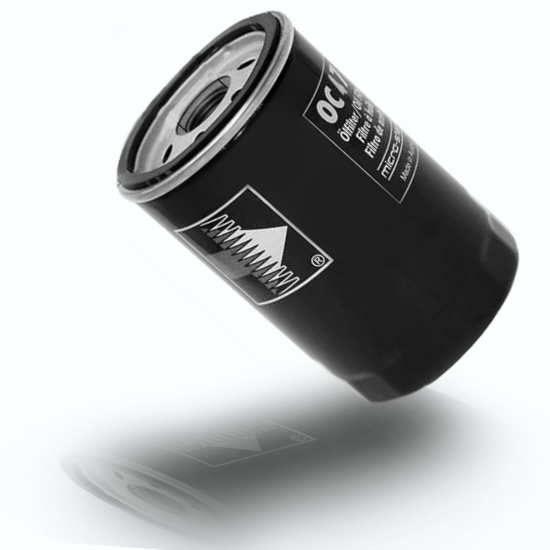
Oil filter at bargain pricesavailable up from £ 3,55Order now ⇒ |
What oil to choose?
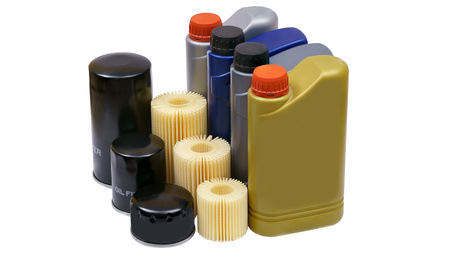 Replacement of the oil filter always implies an oil change as well. This is not officially stipulated, but the right thing to do. Choosing the right oil is almost a science in itself, and opinions vary. Most important are the oil classification and specification (for example 15W-40 or Mercedes-Benz 229.1). There are brand oils as well as generic oils. Distinction is made between mineral oil and synthetic oil. The latter is generally considered to be more high-grade, as has a better heat resistance as well as better cold start properties. Furthermore, there are thin oil and so-called long-life oil. The former is supposed to reduce the strain on the engine by its properties and therefore reduce the fuel consumption, the latter is known for its extended duration of use, which it can only develop if the filter is correspondingly durable. The AA web page offers additional information.
The DIY replacement of an oil filter itself
The following tools are needed for replacement:
– the service manual
– a fitting oil drain plug
– a collection bowl for the oil
– a cloth
– a car hoist
– alternatively a repair pit
– or (emergency solution) a jack
– a plastic bag
– a paint brush
– possibly a screwdriver
– possibly a socket spanner
– possibly an oil-filter spanner
![]() Preparation: If you use a filter cartridge with housing, it requires proper preparation. Insert the cartridge and the sealing gaskets in the housing and shut it with the end caps. These can be tightened with the oil-filter spanner. Start the car and let the motor run for several minutes. Switch off the engine and open the bonnet, find the old oil filter and the oil filler pipes and remove them. Jack up the car and find the oil drain plug. Its position can be found in the service manual as well. Place a bowl under the plug to collect the oil.
Preparation: If you use a filter cartridge with housing, it requires proper preparation. Insert the cartridge and the sealing gaskets in the housing and shut it with the end caps. These can be tightened with the oil-filter spanner. Start the car and let the motor run for several minutes. Switch off the engine and open the bonnet, find the old oil filter and the oil filler pipes and remove them. Jack up the car and find the oil drain plug. Its position can be found in the service manual as well. Place a bowl under the plug to collect the oil.
| Step 1: Open the oil drain plug with the proper tool (screwdriver or socket spanner) and wait until all oil is drained from the oil carter. The drain plug is discarded along with the old oil. Put the bowl aside and lower the car. |
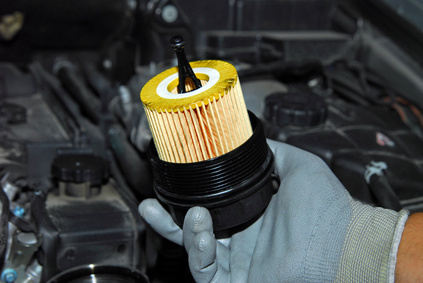 Step 2: Put a plastic bag over the old oil filter and remove it. Step 2: Put a plastic bag over the old oil filter and remove it.– For screw-on filters: remove the housing and wipe the screw thread clean. Dip the paint brush in fresh oil and apply it carefully. Pour some oil in the new filter as well. – For filter cartridges with housing: if you want to use the old housing, remove it, wipe it clean with a cloth and re-install it with the new cartridge and sealing gasket. Wipe the screw hole clean with the cloth, apply some fresh oil and pour some oil in the filter. – For filter cartridges with a permanent housing: open the housing with the oil-filter spanner, remove the cartridge and the sealing gasket. Wipe it clean with a cloth. Put the new filter cartridge and the sealing gasket in the housing and pour some oil in it. Close the housing. |
| Step 3: Jack up the car again, remove any residue from the drainage hole with the cloth and screw on the new drain plug with gasket. It must be screwed tight by hand and then half a turn with the proper tool. |
| Step 4: Lower the car again and pour oil in it until the level reaches the highest mark on the oil dipstick without exceeding it. Screw the lid on the filler pipe. |
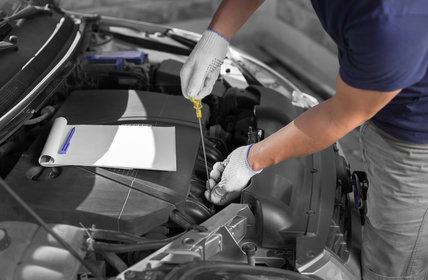 Step 5: Start the engine, give full throttle a couple of times and let the engine run for a few minutes to initiate the oil circulation. Check the oil level again with the dipstick and if necessary fill in some more oil. If the oil level is ok, the replacement was successful. Step 5: Start the engine, give full throttle a couple of times and let the engine run for a few minutes to initiate the oil circulation. Check the oil level again with the dipstick and if necessary fill in some more oil. If the oil level is ok, the replacement was successful. |
 Please note: Old oil is dangerous stuff and cannot be discarded with the household garbage or poured into the drainage system. All things affected by the oil belong in the chemical waste. Several garages accept waste oil for a certain fee. Sometimes, waste oil is bought. The first point of contact is the local recycling centre. If you are uncertain what to do with waste oil, find information on the AA or MOT websites.

Engine oil for all car makescheaply up from £ 5,20Buy here ⇒ |
Warnings and possible mistakes
![]() Oil change and oil filter replacement is a dirty job, if you are not careful. However, no special technical talents and only minor car experience are required. Errors can still occur, and as always in case of working with dangerous substances, you need to observe certain things:
Oil change and oil filter replacement is a dirty job, if you are not careful. However, no special technical talents and only minor car experience are required. Errors can still occur, and as always in case of working with dangerous substances, you need to observe certain things:
Oil is leaking – If you notice oil leaking from the car after replacement, this is an indication of either the oil filter or the drain plug not having properly been installed. Alternatively the lid of the filling pipe is not properly adjusted. Check all screw connections.
The oil warning light is on – Oil warning lights have been in cars for ever. Even in modern cars with a board computer it can still be found. What is measured depends on the car manufacturer and model and therefore it is possible for the light to go on after a replacement. No panic: most of the times it will go out after a couple of minutes. If this is not the case, we recommend a visit to the garage.
Larger amounts of oil leaked onto the road – The bowl was not placed correctly or the oil filter was sloppily screwed on, causing a mess which is hazardous, too. If actually large amounts of oil have leaked onto the road or – worse – are flowing in the direction of the drainage system, the fire brigade must be alerted. They will help you contain the damage. Omitting this and leaving the oil puddle is an offence and you risk imprisonment. Smaller amounts can be absorbed with an oil binding agent and then removed.
Weblinks: UK oil bank, Gov.uk
Foto: dima_sidelnikov, algre, spoilergen, alex555, Maksim Kostenko / fotolia.com



 (12 votes, average: 3.75 out of 5)


