

Headlights considerably contribute to traffic safety in case of heavy precipitation or in the dark. Over the years however they can become dull. Hail and other impact can cause scratches on their smooth surface. Read below when headlights maintenance is worthwhile and how this can be done.
Headlight maintenance – when to start?
Every car owner knows by experience that headlights lose brightness. Replacing the lamps does not necessarily restore their correct function. A headlight which has become hazy no longer shines adequately. Merely cleaning the headlight will not remove the problem.
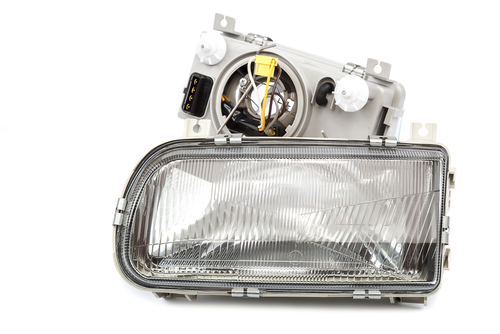 Scratches and dull headlight surfaces must be taken seriously. You compromise your safety when driving at night or in the rain, as the light cone is no longer optimally illuminating the road ahead. And what is more: larger cracks and scratches can cause unwelcome light dispersion, increasing the risk of blinding other traffic participants. Your car is a danger on the road, which cannot be remedied by simply replacing the lamps.
You should consider headlight maintenance when you observe the brightness decreasing. Additionally, cars coming from the opposite direction might indicate by signalling that they are being blinded. They think you have switched on your high beam, even though is just your low (dipped) beam being faultily dispersed by scratches. Therefore do not headlight changes too lightly.
Headlights and MOT – things to consider
 Even if you choose to ignore a headlight malfunction, it will surely become an issue at your next MOT inspection. A correct setting and functioning of the headlights is essential for a technical check of your car. The brightness and light dispersion are checked with special measuring equipment. Noticeable deviation can lead to certification being denied.
Likely, the MOT inspector will suggest headlight replacement. Depending on a car manufacturer and model series this can lead to a 4-digit price tag repair, which you might want to spare yourself. By polishing and upgrading the headlights you contribute to their quality enhancement, causing them to meet MOT standards. Meticulous and professional execution is important for improvement of your headlights instead of causing more light dispersion.
Headlamps online storecheaply up from £ 15,92Order now ⇒ |
How to restore dull and scratched headlights
– a practical DIY guide
If you notice that your car headlights are milky or scratched, it is time for quick and professional treatment. You do not need a garage for this. Instead, you can upgrade your headlights with simple tools. To do this, follow the manual below.
|
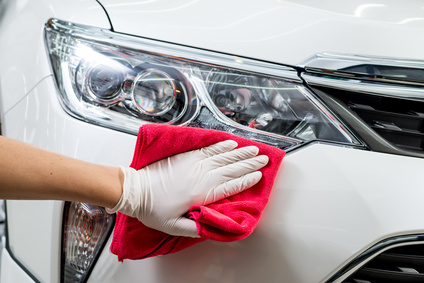
1) Thorough cleaning of the headlights
|
|
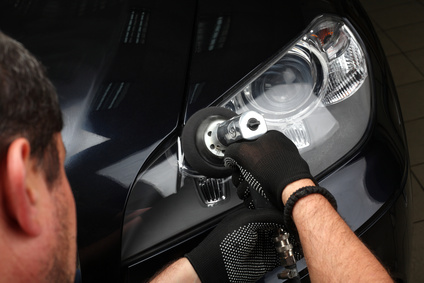
2) Careful polishing of the headlamp
You shouldn’t work with dry sanding paper because even fine-grit paper can cause even more scratches. Moisten the sanding paper and apply it to affected areas. Using two or three sanding sheets of different grit and working from coarse to fine is recommended. After every sanding action, small polishing particles remain on the headlamp, which can be rinsed away with warm water. |
|
3) Smooth polishing and sealing of the headlamps
For sealing the polished headlamp we recommend special treatment agent for plastic. This can be found at every specialised dealer in car accessories. Please ensure that the products is suitable for headlamps. By even application of the agent a protective layer on the headlamp is created which doesn’t influence the beam. You can check if you have been working sufficiently careful by testing your headlights, shining them on a smooth, even surface. |

 Further tips on upgrading your headlights
| – Upgrading the scratches on headlamps is a sensible and cheap alternative for replacement. Nevertheless, even the strongest abrasive will not work wonders on damaged headlamps. It is therefore important to remain realistic. If there are large cracks in the plastic surface, upgrading will not succeed and replacement of the headlights is unavoidable. |
| – Do not wait with the above-mentioned steps until your headlights show clear malfunctions. It is therefore recommended to regularly clean the headlamps to benefit from optimal lighting under all circumstances. Putting your car in order after the winter months and cleaning the headlamps is self-evident for a responsible driver. Invisible damage and streaks might also have caused damage to the lighting. |
Weblinks: MOT
Foto: Nejron Photo, TrotzOlga, Primastock, bhakpong / shutterstock.com


 (11 votes, average: 3.91 out of 5)


