The wing is a part of the frontal car body, covering the wheel arch of the steering axle and merging into the bonnet and the front. The good thing about the wing is its simple replacement. In case of rust, dents or serious scratching, changing the wing is generally less of a bother than flattening, filling or welding it. Read in this text everything you need to know about wing and mudguard replacement.
Whatever’s eating the wing
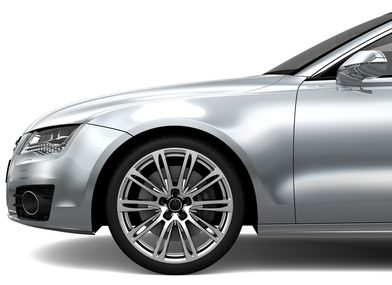 As a part of the exterior body panel, a wing is permanently exposed to the elements. In addition, this component sits close to the wheels. Splashing water and grit constantly hit the lower extremities of the metal panel.
So, corrosion can easily take root here. Front wings also tend to sustain damage in narrow car parks. Modern cars getting increasingly larger reach their limits in terms of space in older parking spaces. Large sedans, SUVs or off-road vehicles are more likely to brush against a pillar.
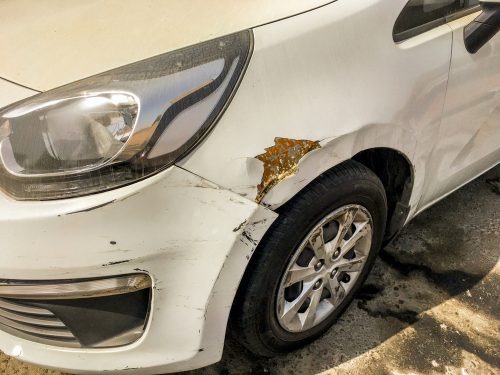 A dented, rusty or scratched wing is not really serious, although it considerably impacts the car’s appearance.
Contrary to the fixed and welded side panel of the rear bodywork, the front wings do function as structural support.
They are merely screwed onto the chassis and therefore just as easily replaceable.
Mind the paintwork!
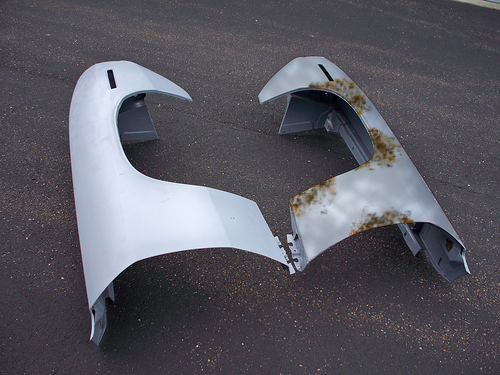 Even though replacement of a wing is simple, there is a catch: its colour. A different colour wing stands out and reduces the car’s value. Therefore it is worth while taking your time when looking for a replacement. With a bit of research you can find wings in the matching colour.
Precision is of the utmost importance when looking for a matching colour wing. Green is not always green. There are hundreds of different hues behind every basic colour. If the metal panel’s paintwork does not have exactly the same colour code, the difference will show at assembly right away.
The colour code of a car can be found in the registration document (title) or on a conspicuous spot somewhere on the vehicle. The position may vary considerably depending on the model. To find out where the colour code of the car can be found, calling a nearby second-hand car dealer or the garage of the corresponding car brand might be useful.
Alternatively, the internet offers international possibilities for finding the matching part. Another option is to buy a new spare part and paint it correspondingly.
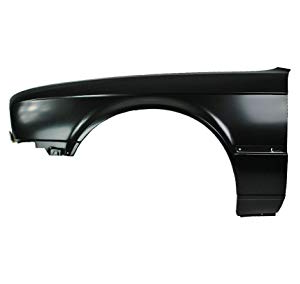
Car wing front/rear ⇒ Best pricenow up from £ 11,90to the shop ⇒ |
New or used?
On an older car the installation of an impeccable wing in matching colour makes more sense than using a new part. New wings have several disadvantages:
|
– right fit – paintwork – material quality |
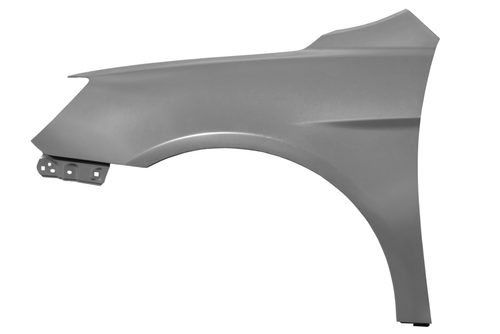 Especially in metal panel manufacture a lot of black sheep are active. Initially, the buyer is happy obtaining a sensationally cheap spare part. However, disappointment is bound to follow at assembly: the split lines do not fit, drilling holes and bolts do not match, the customer receives a rusty panel and the metal is brittle.
If you want to install a wing, be certain to visit a trusted dealer and make sure of branded or OEM quality. Otherwise, a simple repair is bound to turn into a frustrating occasion.
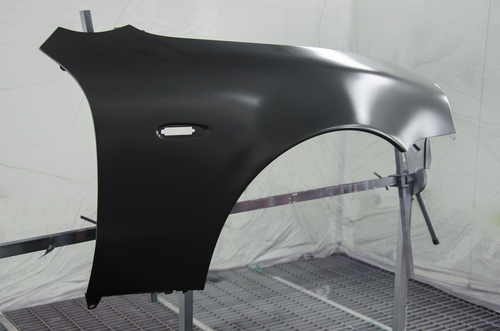 The factory supplies spare wings painted with black primer. This means painting the metal anew. We recommend against DIY attempts with spray cans. The difference will always show. But even after a professional painting job it will stand out after installation.
The shiny, scratch-free, freshly painted wing emphasises the condition of the rest of the car. By choosing to install a new part, several hours of polishing await you in order to match the shine and colour of the spare part with the rest of the bodywork.
A used wing in matching colour ensures OEM-quality and the right fit. Its ageing traces tend to be an asset in case of repair of a used car. A spare part of adequate quality in matching colour guarantees the best results. Afterwards no signs of repair will show.
Replacing the wing – step by step
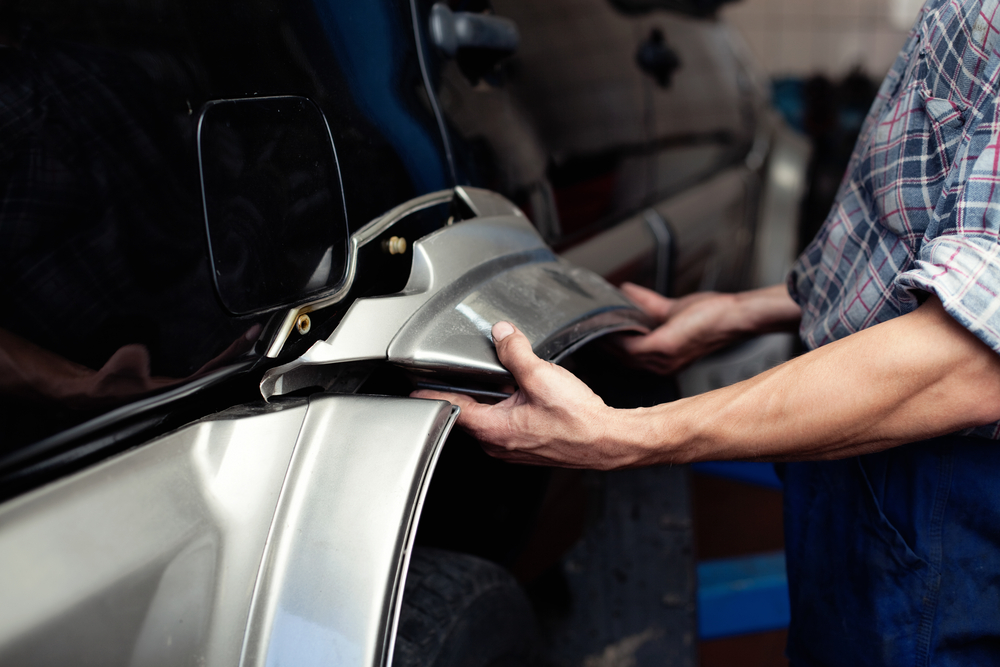 The replacement of a wing will take up to 2- 3 hours. You need:
|
– a set of wrenches (spanners). |
Preparation: park the car and open the bonnet.
1 Removing the grille
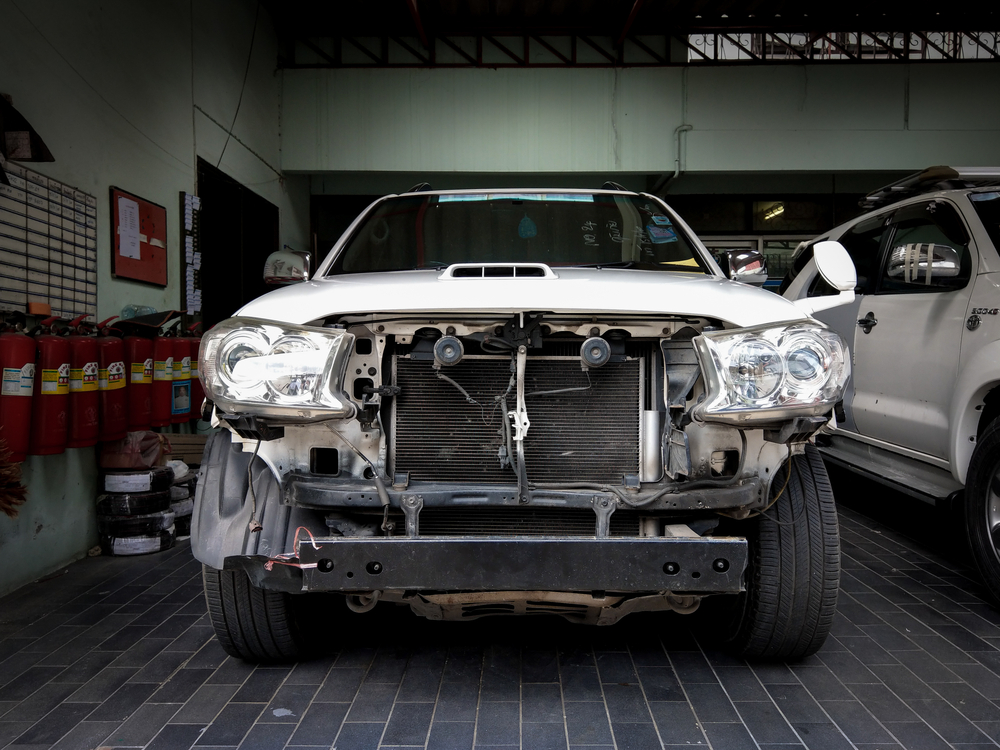 Start by removing the radiator grille. This is necessary as the bumper has to be removed as well. The grille is attached to the bodywork with a series of cross-tip bolts.
2. Removing the bumper
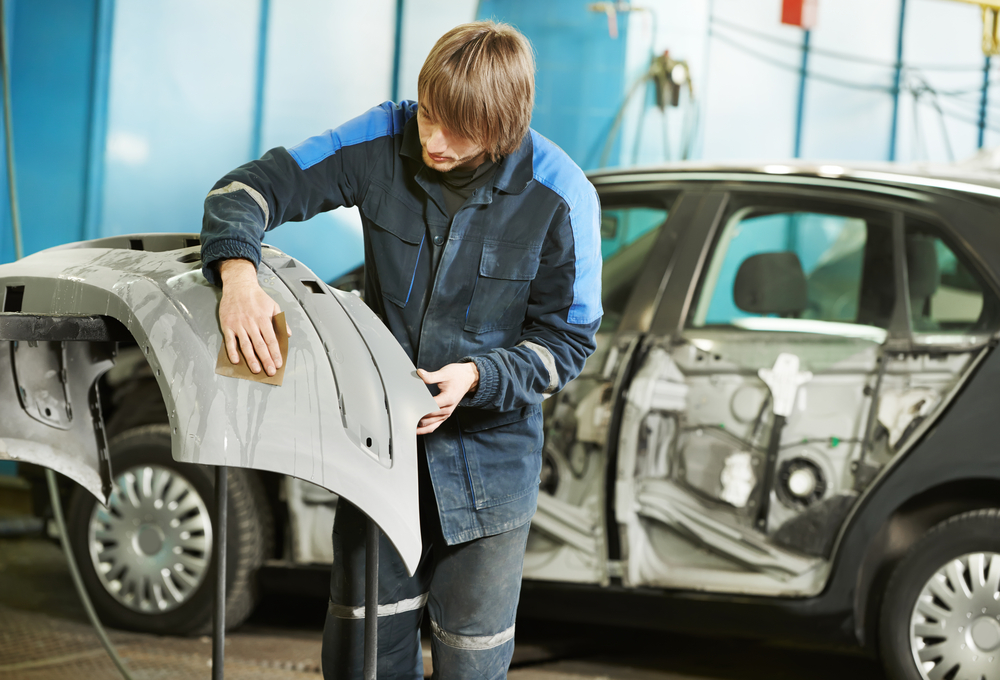 Now the entire bumper is taken off by removing clips and screws, fixing the bumper all the way around. Place the bumper on smooth grass or a blanket to prevent scratching.
3. Removing the wheel
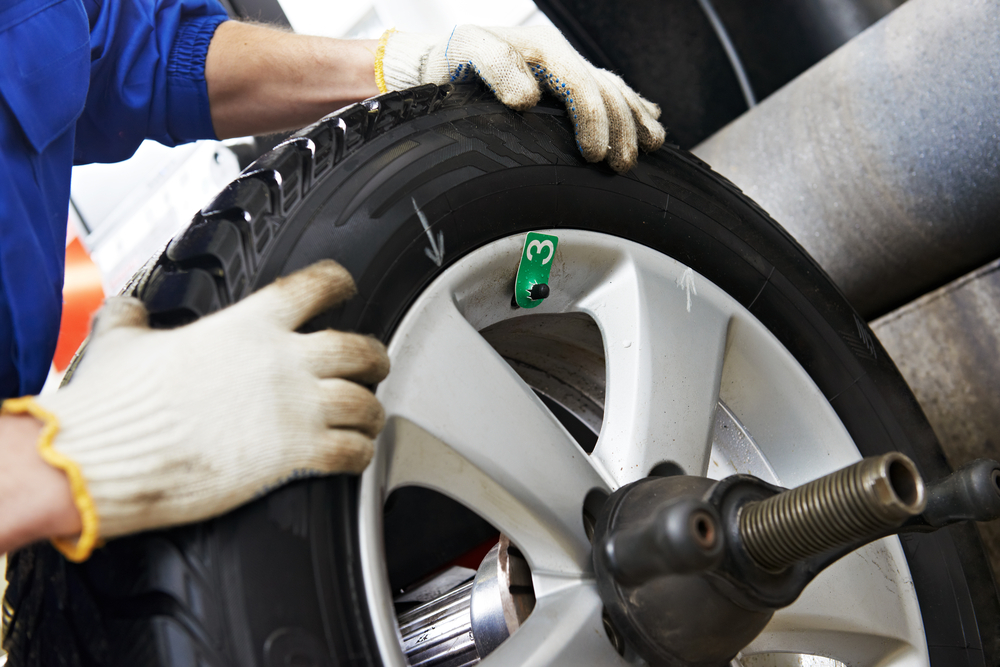 The wheel on the affected side must be removed by loosening the wheel nuts and jacking up the car. When the wheel is hanging freely in the air, it can be taken off.
Careful: a car should not be put on a jack stand without securing it. Do not use stones or blocks of wood to jack the car up, but only professional jack stands, suitable for cars.
When jacking up the car always make use of the appropriate contact points for lifting the car. A wrongly placed jack or car stand can cause severe damage to the bodywork!
4. Disassembling the wheel arch
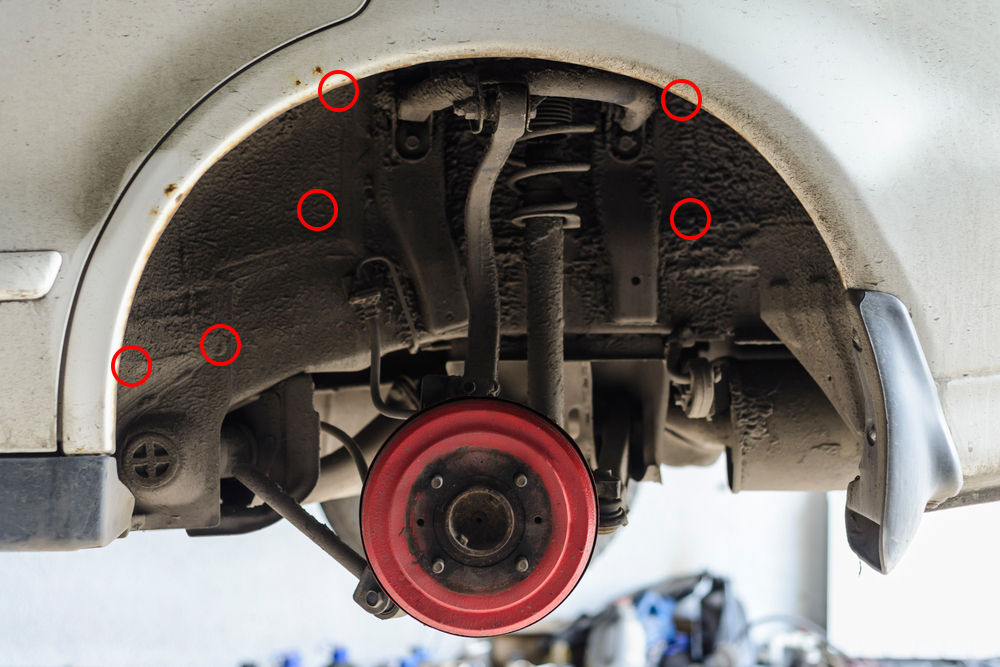 The wheel arch or mudguard is fixed to the bodywork with bolts and clips. Take care not to lose any bolts. Even if it means more effort, using a simple screwdriver is better than a cordless screwdriver in order to avoid the risk of free-slipping bolts. This would considerably complicate disassembly and components or the bodywork might get damaged.
5. Removing the headlight
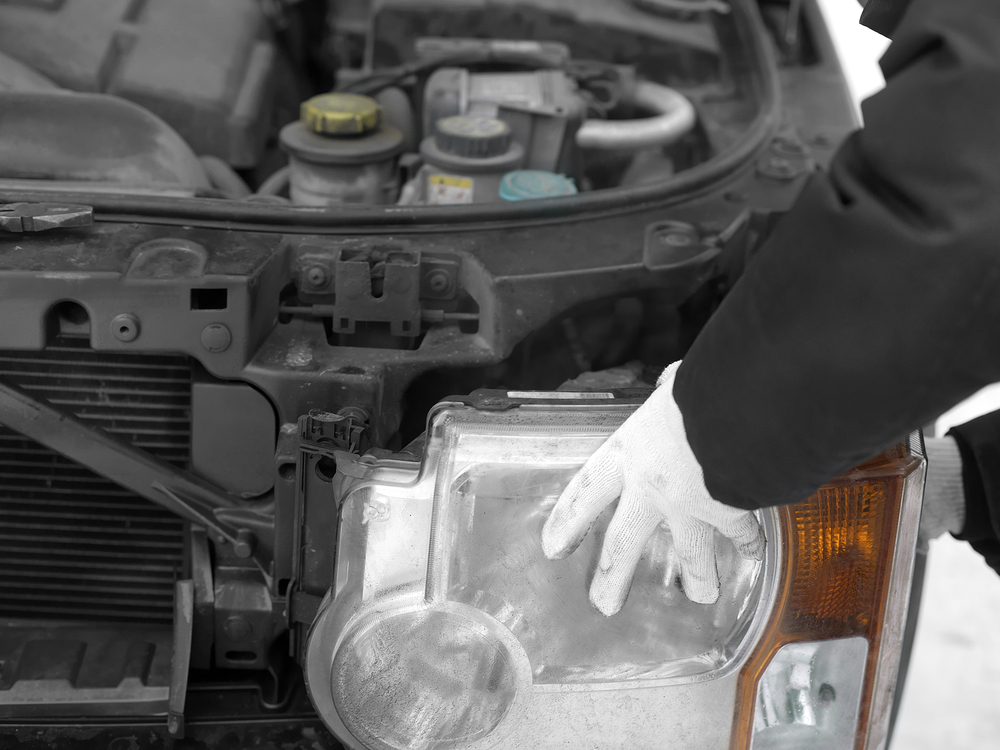 In modern cars, several bolts of the wing are only accessible after the headlight is removed.
Therefore: out with it. In case of xenon headlights, take care to let them completely cool off. Store headlights in a secure place.
6. Replacing the wing
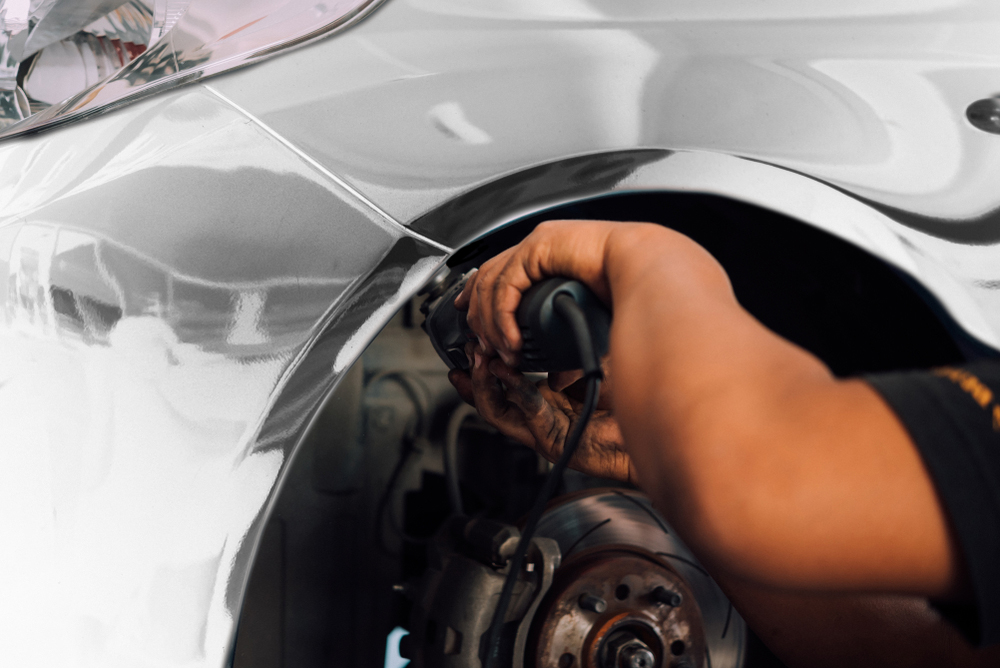 Now, after removing all interfering components at the front and disassembling the wheel arch. All wheel bolts of the wing should be accessible. Keep a little box at hand to store all bodywork screws and bolts.
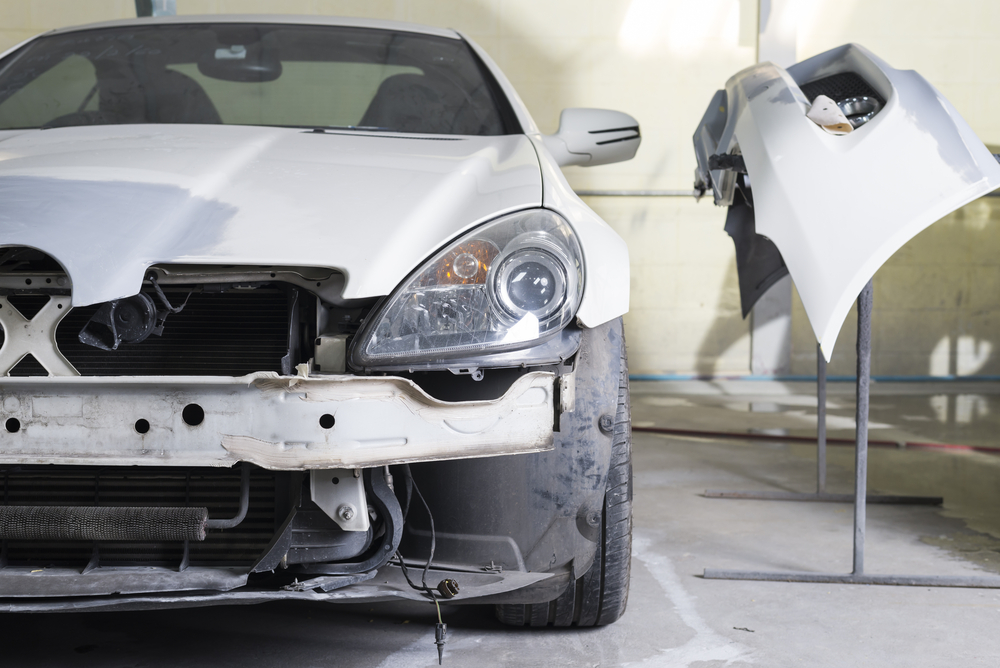
 Unscrew the wing and put the new one in place. In modern cars, adjustment will be hardly necessary. The wing should be a right fit.
Should you experience any trouble fixing the replacement wing, the chassis might be damaged. Check if you are dealing with a crash car.
7. Putting all together again
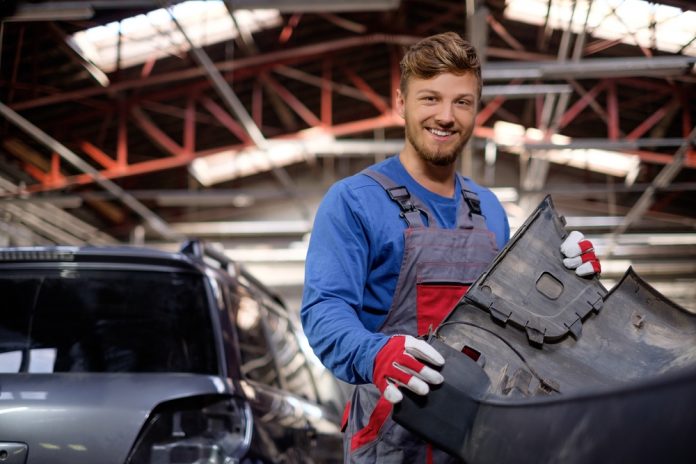
 All components are now put in place in the reverse order. Subsequently the car is washed and polished thoroughly. If there are no tell-tale signs of the finished repair, it has been a total success.
Immediate replacement saves time and prevents annoyance
With regard to front wings, making a choice between replacement or repair should be easy. As long as damage can be polished away, by all means continue to use the old one. If it turns out to be a matter of filling and welding, an impeccable replacement part in the matching colour from the recycler is definitely the better option.
Foto: Magsi, James Kappernaros,Vladimiroquai, BACHTUB DMITRII, baranq, Sornn, Dmitry Kalinovsky, Ilya Rudzis, victoras, Alraun, Nejron Photo, Bhakpong, PongMoji / shutterstock.com



 (14 votes, average: 3.36 out of 5)


