

Automotive history and rust on a car go hand in hand. All the research in the field of rust protection which has been going on for a century, preventive measures and attempts at controlling the gnawing destruction have been unable to solve the problem. Sooner or later all steel and iron components of the car start to corrode. Nevertheless, with a little care, you as a car owner and driver stand a good chance of considerably postponing the death of your car due to corrosion.
How does rust on a car start?
 Steel is extracted from iron ore, which is nothing else than oxidised iron. By addition of a reductant (generally carbon) and energy (heating), oxygen is removed from the iron oxide. Now, iron as a metal can be processed. In nature, it only occurs as iron oxide and therefore it continually tends to react with oxygen. This is a well-known chemical process. All elements strive for the so-called noble gas configuration to acquire stability when they no longer react.
When steel (raw iron with 3% carbon) connects with water and air, a catalytic process occurs. The water allows iron to react with the oxygen in the air. This process is boosted when the water is slightly acidic, e.g. in case of added salt. Therefore cars rust considerably quicker in snowy areas than in dry and hot areas. This is the reason why plenty of old cars can still be found in California.
Rust requires three conditions:
|
– access to the bare metal – oxygen – water |
Oxygen is omnipresent in the air and therefore corrosion protection and rust prevention are the only ways to prevent the gradual destruction of the car bodywork.
Why is rust on a car so destructive?
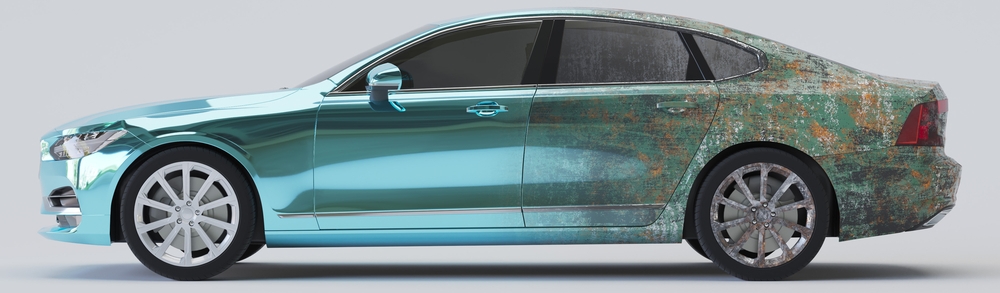
As said, rust is a combination of iron and oxygen. The developing iron oxide molecule alters the composition and as a result it no longer forms an air-tight surface. Iron rust creates a fine powder without mechanical connection to the base material. Aluminium acts differently. The oxide creates an air-tight surface protecting the base material against rust. This is not the case for iron.
Only a matter of money
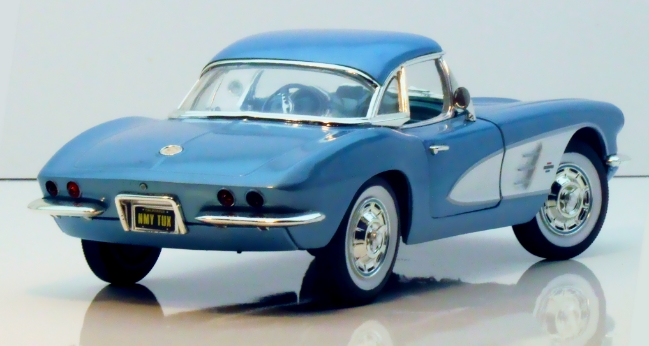 Three attempts were made to stop bodywork corrosion at the start with the Audi A2, the DeLorean and the Chevrolet Corvette. The Audi A2 had an aluminium bodywork, the DeLorean cover was made of stainless steel and the Corvette was equipped with a glass fibre bodywork.
All three concepts were successful as far as rust protection was concerned. They were however very expensive and therefore not adaptable for the average family car. For this reason, steel continues to be used in combination with the active task of protecting it against rust as adequately as possible.
Precaution, precaution and again precaution
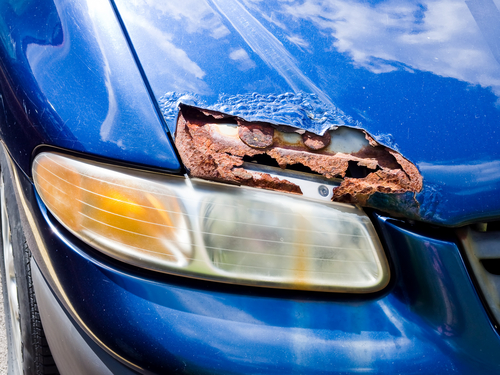
 Repair of a rusty spot is in essence a makeshift solution. More important is preventing rust on a car in advance. As earlier described, rust needs a weak spot. It must gain access to the bare metal in order to start its destructive effect. When purchasing a second-hand car it is therefore useful to gain information on the corrosion-prone areas of the specific model.
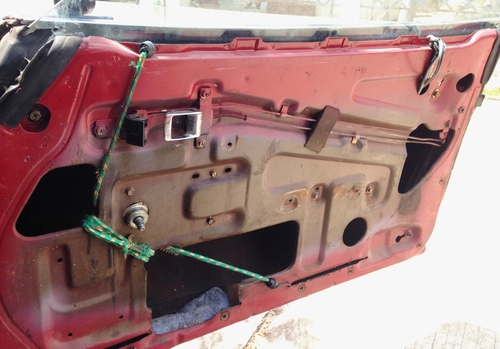 In vans, the drilling holes of door handles and interior panelling are often not sealed. If you have bought a more or less rust-free specimen, it is worthwhile to disassemble those parts and apply rust protection to the drilling holes. This could considerably extend the life span of a car.
 Naturally, this applies to every scratch and dent you find on the car.
The golden rule stands: immediate sealing!
As long as the rust is only on the surface, it can be fought.
The deeper it is allowed to penetrate, the more work it will be.
 TIP: When purchasing a second-hand car it is worthwhile to perform an endoscopic research of the sills and hollow beams in addition to a preventive cavity sealing. This will guard you against surprises. Corrosion in these areas are particularly expensive in repair.
Undetected corrosion damage
For rust damage its location is an essential factor. Principally, there are three ways of repairing a corroded area:
|
– replacement of the affected part – filling – welding |
 Replacement makes sense when damage has progressed and the component can easily be replaced, such as the bonnet and the front fenders. Doors and boot lid are generally easily replaceable as well, although these parts require extensive adaptations: changing door locks and electric window operators in door panelling is a lot of work. Therefore, on doors filling and levelling is often attempted first.
 The advantage of removable components is that they are irrelevant to the car’s stability. Filling and grinding can be undertaken without any risk.
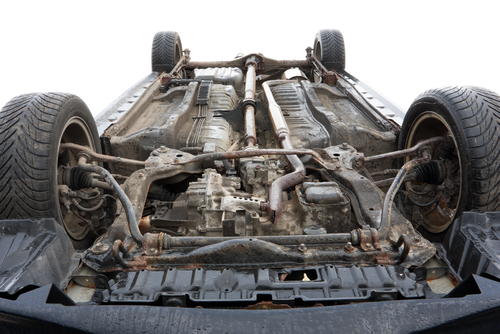 More problematic are the rust spots on the bodywork. In modern cars, the entire car front, the passenger cabin with roof and underbody, the wheel arches and the rear fenders consist of a single welded unit which cannot be as easily replaced as a front fender or a door.
Nevertheless, distinction should be made between carrying and non-carrying components. Carrying components are all carrier beams and sills as well as all parts constructed specifically large and massive. Non-carrying elements are e.g. the rear fenders. Non-carrying elements can be filled and sanded without any risk.
Fighting rust on a car: Filling requires skill
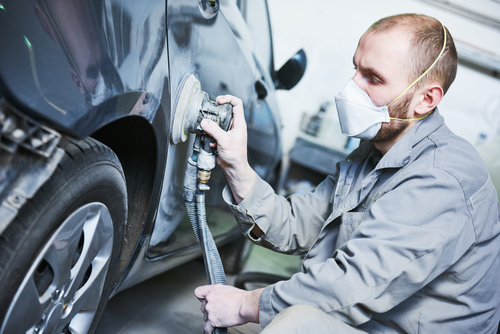
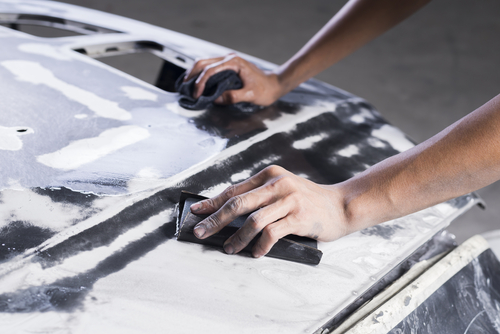 For filling, start by grinding the entire corroded surface down to the bare metal.
A steel brush and rust converter can speed up this process.
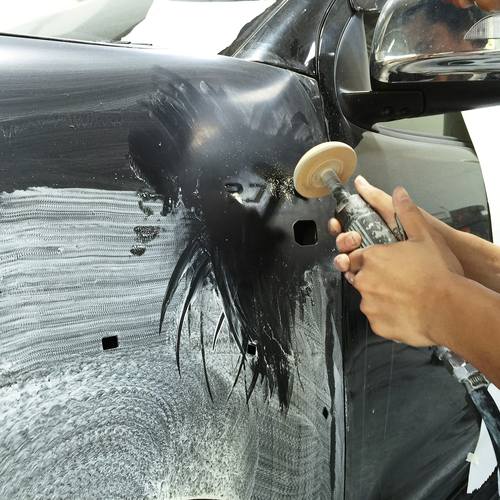
Subsequently, an adhesive layer is applied to the spot, which is then filled with a mix of putty and hardener.
 When filling, it is important to work clean, reducing the amount of work when sanding afterwards. The filled area cannot be too big or too deep. Dents must be dented out prior to filling. Furthermore, the filling putty should never hang “free in the air”. If wheel arches or large holes need filling, the area of repair should be supported with fibre like GRP.
TIP: in case of using GRP for repair always work with epoxy resin instead of polyester resin. Epoxy resin has a better adhesion to the bodywork. It always needs additional filament. A normal fiberglass mat cannot be processed with epoxy resin.
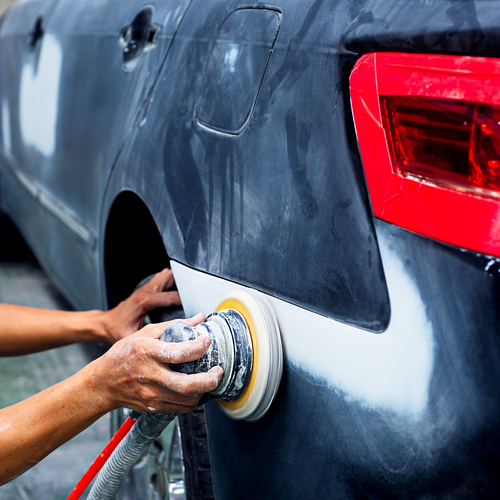
 After filling and hardening, rough sanding and fine sanding follow, re-establishing the original contours of the bodywork.
Subsequent priming and painting in the original car colour complete the work. Creating an invisible transition is an art requiring skill and experience.
Therefore practising filling, painting and polishing on a scrapheap car fender is useful.
When there is no other option: Welding
Welding is the extreme form of repairing rust on a car. It is applied when rust occurs in areas that cannot be replaced and are too large for filling. Typical cases of rust holes are the underbody, the wheel arches and the boot. The course of action is simple:
|
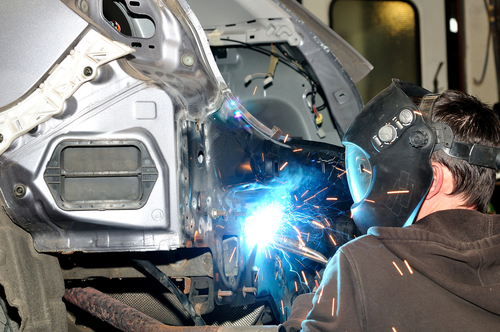 It is essential that you know how to handle a welding device. You can already save a lot of money by preparing the welding works as adequately as possible. Clearing the affected area, grinding down the surrounding metal and preparing the repair template can all be done at home. If the expensive welding professional first has to remove the protective underseal coating and paint, it will turn out to be considerably more expensive.
Tip: even if a lot of youtube videos show you differently, no repair metal is welded onto edges. The optimal connection of metal sheets and chassis is made by drilling holes which are drilled approximately 5 millimetres from the edge of the metal.
Sills and carrier beams are time bombs
 If rust on a car is found on a sill or a carrier beam, filling surfaces is in vain. These hollow components corrode from the inside outwards. To permanently remove rust, the corroded area needs to be cut out and repaired. This task should exclusively be undertaken by a bodywork professional. Unprofessional repairs of carrying elements are not accepted at MOT inspection.
After repair of sills and hollow beams, the hollow parts must be sealed. This prevents corrosion from returning.
Foto: hecke61, Bodanochka, Rihardzz, Trodler, IkeHayden, Richard Wadd, Chonlawut, Bokeh Blur Background, Dmitry Kalinovsky, Bhakpong, MongPro, loraks / shutterstock.com


 (10 votes, average: 3.40 out of 5)


