

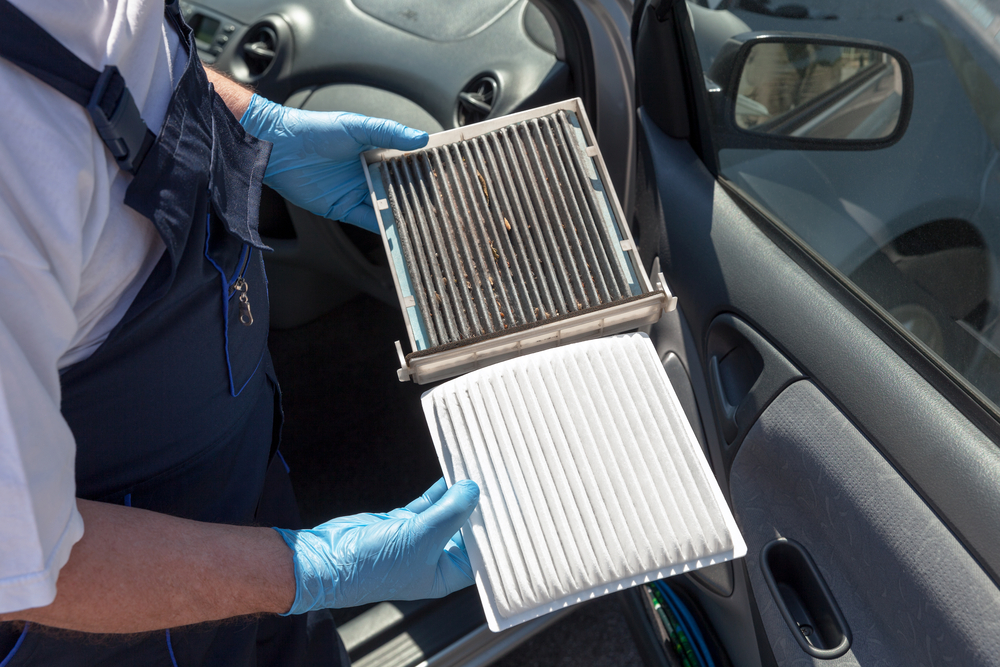
Despite its name a pollen filter can do a lot more than just filtering pollen. Therefore it is alternatively known as the cabin air filter. This essential spare part directly influences the air quality in the car, thus guaranteeing the right climate. Unfortunately it is often overlooked and many car owners drive around with a dirty pollen filter. And it’s so sad, because replacement in most cars is very easy!
The cabin air filter – its tasks
 The main task of the pollen filter is evident, namely the filtering of undesirable particles from the air intake. This is particularly important in urban environments, where in addition to dust and dirt, harmful particles such as soot, nitrogen, ozone, sulphur dioxide and hydrocarbons need to be filtered from the air. For a part they are caused by other cars, but are also industrial by-products. The arrival of spring and summer make filtering of harmful pollen necessary. As long as the filter is functioning adequately, it will manage to do so for up to almost 100%, turning your car into a fresh-air oasis.
When the cabin air filter is functioning adequately, heater and air conditioner need to work less hard in order to reach the desired cabin temperature. Conversely, the engine uses less fuel, causing lower emission of C02 and other particles. Regular filter replacement is therefore not only important for your own well-being but also actively adding to a cleaner environment.
Possible signals for replacement
The pollen filter is directly and indirectly connected to many processes and therefore signals vary. Often, a musty smell in the car is a first sign for an upcoming replacement, although this might also be caused by a dirty air conditioning. If additionally the performance of the heater and air blower is deteriorating, the signs are clear. Other symptoms could be an increase of fuel consumption and even foggy windows. The latter is due to water particles in the air which are blown into the car interior. In summer, allergic patients will immediately notice a clogged air filter due to the pollen the air. A greasy film on the windows is a further indication.
 There is no prescribed interval for replacement, although most manufacturers recommend replacement after 15.000 km if nothing else is mentioned. If you are not regularly using your car stationary and therefore do not reach this mileage, nevertheless be certain to plan a yearly filter replacement. For allergic patients the start of spring is the most ideal time.
In autumn and winter the strain on the filter is at its peak and by replacing it the optimal filter capacity is re-established.
Pollen filter – which is the right one?
All pollen filters are different. The market offers different models according to brand, varying by the used material:
Pollen filter shopcheaply up from £ 3,80Order now ⇒ |
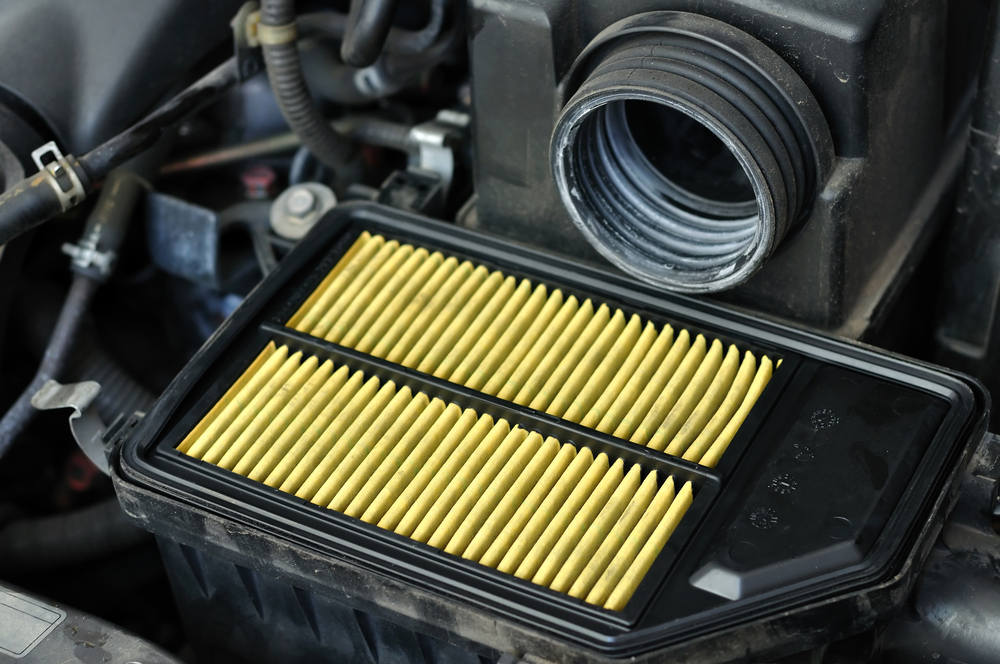
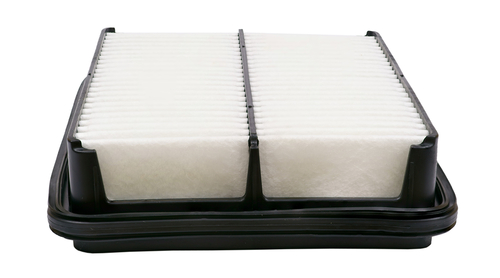 – Standard filters have a pre-filter, generally made of cotton fibre, a micro-fibre layer and a carrier layer, reliably filtering out dust, pollen and particulates. Other particles can still reach the interior. This filter is suitable for non-sensitive people. – Standard filters have a pre-filter, generally made of cotton fibre, a micro-fibre layer and a carrier layer, reliably filtering out dust, pollen and particulates. Other particles can still reach the interior. This filter is suitable for non-sensitive people.
|
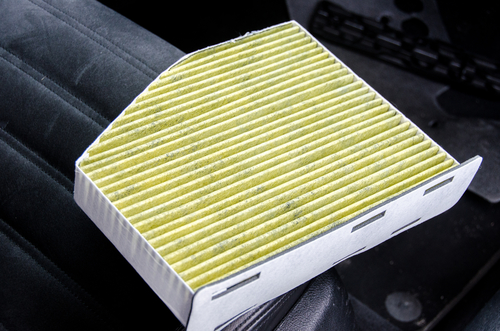
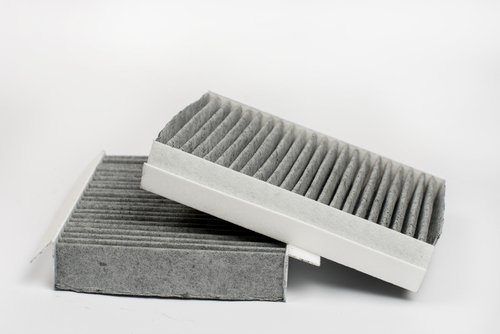 – Activated carbon filter have an additional layer of activated carbon, additionally filtering exhaust gases, particulates, smells and harmful gases. The cabin climate is noticeably fresher and the air conditioning performs better. Suitable for allergic and sensitive people. – Activated carbon filter have an additional layer of activated carbon, additionally filtering exhaust gases, particulates, smells and harmful gases. The cabin climate is noticeably fresher and the air conditioning performs better. Suitable for allergic and sensitive people.
|
 – Bio-functional filters / allergen air filters are known under different names, depending on manufacturer (e.g. Filter +). It has as polyphenol layer with an anti-allergenic and anti-microbial function, preventing mould spores, allergens and bacteria from reaching the interior. Suitable for very sensitive and illness-prone people. – Bio-functional filters / allergen air filters are known under different names, depending on manufacturer (e.g. Filter +). It has as polyphenol layer with an anti-allergenic and anti-microbial function, preventing mould spores, allergens and bacteria from reaching the interior. Suitable for very sensitive and illness-prone people. |
Cleaning the pollen filter – is it possible?
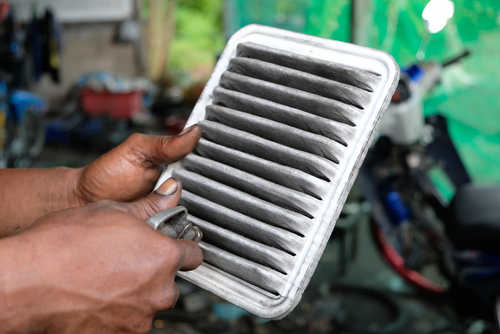 Often, cleaning the pollen filter is recommended instead of replacement. This can be done with a vacuum cleaner or a pressurised air unit will remove a large part of the visible dirt particles. Unfortunately, this procedure does not reach the deeper filter layers and therefore will not significantly upgrade filter performance. Generally, replacement cannot be avoided.
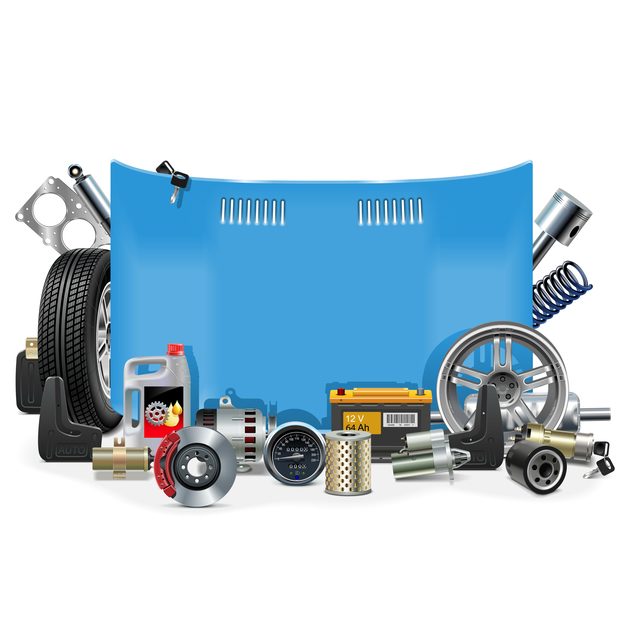
An overview: main info on the spare part
|
What is the pollen filter’s task? |
|
What are typical symptoms of wear? |
|
When does the filter need replacement? |
|
Which one should I buy? |
DIY – replacement of the pollen filter
How and where the cabin air filter is installed, can vary considerably. For this reason, this manual is split in two options.
Option A is for cars with the cabin air filter installed behind the cowl panel on bulkhead at the top end below the bonnet.
Option B is for cars with the cabin air filter installed in the interior.
Consult your car manual to find out which option applies to your car. It is indicated by three parallel, curved lines on the corresponding pictures and diagrams.
|
Option A:
2. Open the bonnet and fix it with the bonnet support rod. 3. For most cars, removing the windshield wipers is required. Their screws can be loosened with the fitting combination spanner and levered out with the bonnet closed. 4. The plastic cover under the windshield is called the cowl panel. It is fixed with several clips which can be levered out whilst simultaneously turning with a screwdriver. 5. The pollen filter frame is secured with clips. They can easily be pulled upwards. Subsequently, the old filter plus frame can be pulled out. 6. Check the size and the position of the frame prior to installing the new filter. Make sure that the installation direction is correct. Arrows can be found on the frame, marked with “Air Flow”. These should point in the direction of the interior. 7. Put the clips back on the cabin air filter housing and install the cowl panel on the bulkhead with its clips. Ultimately, fix the windshield wipers with the corresponding nuts. 8. Start the car and the air conditioner. Check if the set temperature is reached and how long it lasts from warm to cold. If everything is in order, the repair has been successful. |
 1. If the cabin air filter is situated in the engine compartment, wait until at least 30 minutes after the last drive before attempting replacement in order to avoid burns.
|
Option B:
2. If this is not the case, partly remove the glove compartment with the corresponding screws to locate the housing. 3. The filter housing is secured with clips. In order to open them, they both must be first moved inwards and then lifted upwards. 4. Pull the pollen filter with its frame from the housing. 5. Compare the frame’s size and location with the new filter. Mind the correct installation direction. The frame has arrows, marked “Air Flow”. Make sure they point in the direction of the car interior. 6. Put the clips on the housing and push it in its place until it clicks or if resistance can be felt. 7. Fix the glove compartment on the dashboard with the corresponding screws. 8. Start the engine and the air conditioning. Check its functions and the change from warm to cold. Pay attention to how soon the desired temperature is reached. If there are no problems, the replacement has been successful. |
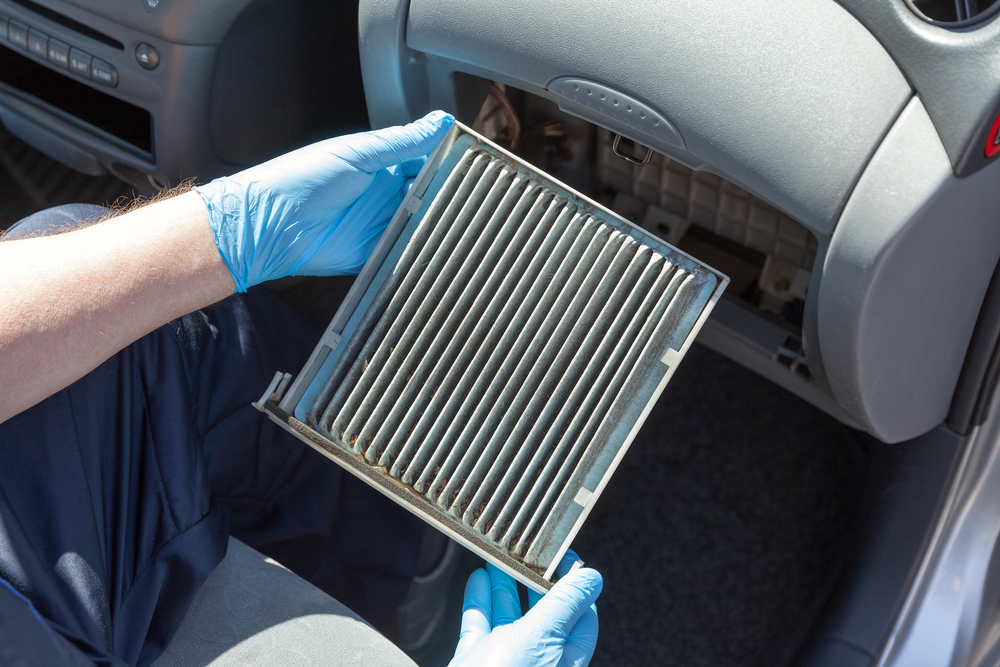 1. If the pollen filter is situated in the car interior, look on the passenger’s side under the glove compartment or in the foot well to check if the marked filter housing can be found here.
Possible installation errors
 Normally, the pollen filter replacement is so easy that even beginners cannot commit serious errors. Nevertheless it is possible that windshield wipers or other components were incorrectly re-installed. As a result, vibrations could cause noises during driving. In that case, screws and clips have to be more tightly re-adjusted.
 The only really serious error concerns the installation direction of the filter. If despite comparison and arrows the filter is installed the wrong way around, coarse dirt particles will clog the fine layers, resulting in a considerably shorter life span and a deteriorating air filter performance. Therefore, the right direction should always be observed during installation.
Foto: Lukatme, Zhou Eka, wellphoto, faithvera, ZhdanHenn, MicrostockStudio, Alraun, iMolly, kostasgr, dashadima / shutterstock.com


 (10 votes, average: 3.40 out of 5)


