

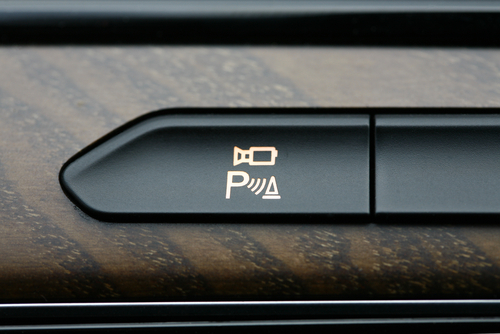
Once a driver is used to the beeping sound when reversing into parking spaces, he doesn’t want to miss this feature for the world. The so-called parking aid system is one of the most important achievements in the modern car. Retrofitting of parking sensors in old cars is recommended as well. This article offers advice on what to observe during DIY installation of a parking aid system and how to avoid mistakes in process.
Facts on a parking aid system
 Basically, the installation of parking sensors and the appropriate technology is possible in every car. The most important question is, whether it is still worthwhile in an old car. Cars, which have been registered as a new car in the last 5 – 10 years, generally are standard equipped with this practical feature. In older cars it must be considered, whether or not the trouble and costs stand in relation to the expected time of use of the car.
 Indeed, the costs for retrofitting a parking aid system should not be underestimated. A modern system with concealed installation of sensors will cost 600 – 1000 euro. In this case most car owners would rather rely on DIY installation to avoid additional garage fees. Still, the installation should be executed professionally to ensure that the sensors perform their task correctly, not submitting inaccurate distances to other vehicles and obstacles. Proper retrofitting of a parking aid system requires system some skill and precise work.
1. How easy is it to retrofit a parking aid system?
 The involved work of a retrofit depends on car type and manufacturer. In this respect a small revolution occurred in 2016. Those who only want the basic reverse parking aid system can benefit from a special system with sensors in the rear number plate. The system was developed in the USA and successfully installed on the local number plates. This system will soon be available for European number plates as well, considerably simplifying the installation procedure. The price would be moderate as well. At this moment, prices vary between EUR 100 and 200.
 DIY installation of the usual parking aid system is also possible. The audio-only parking aid systems are considerably simpler. Visual assistants require additional sensors and a display. Full integration is preferable for a harmonic fitting in the dashboard, which is correspondingly more complicated. Otherwise, you need a separate display, which looks less attractive next to the GPS device and other appliances.
 2. Step-by-step installation of the system
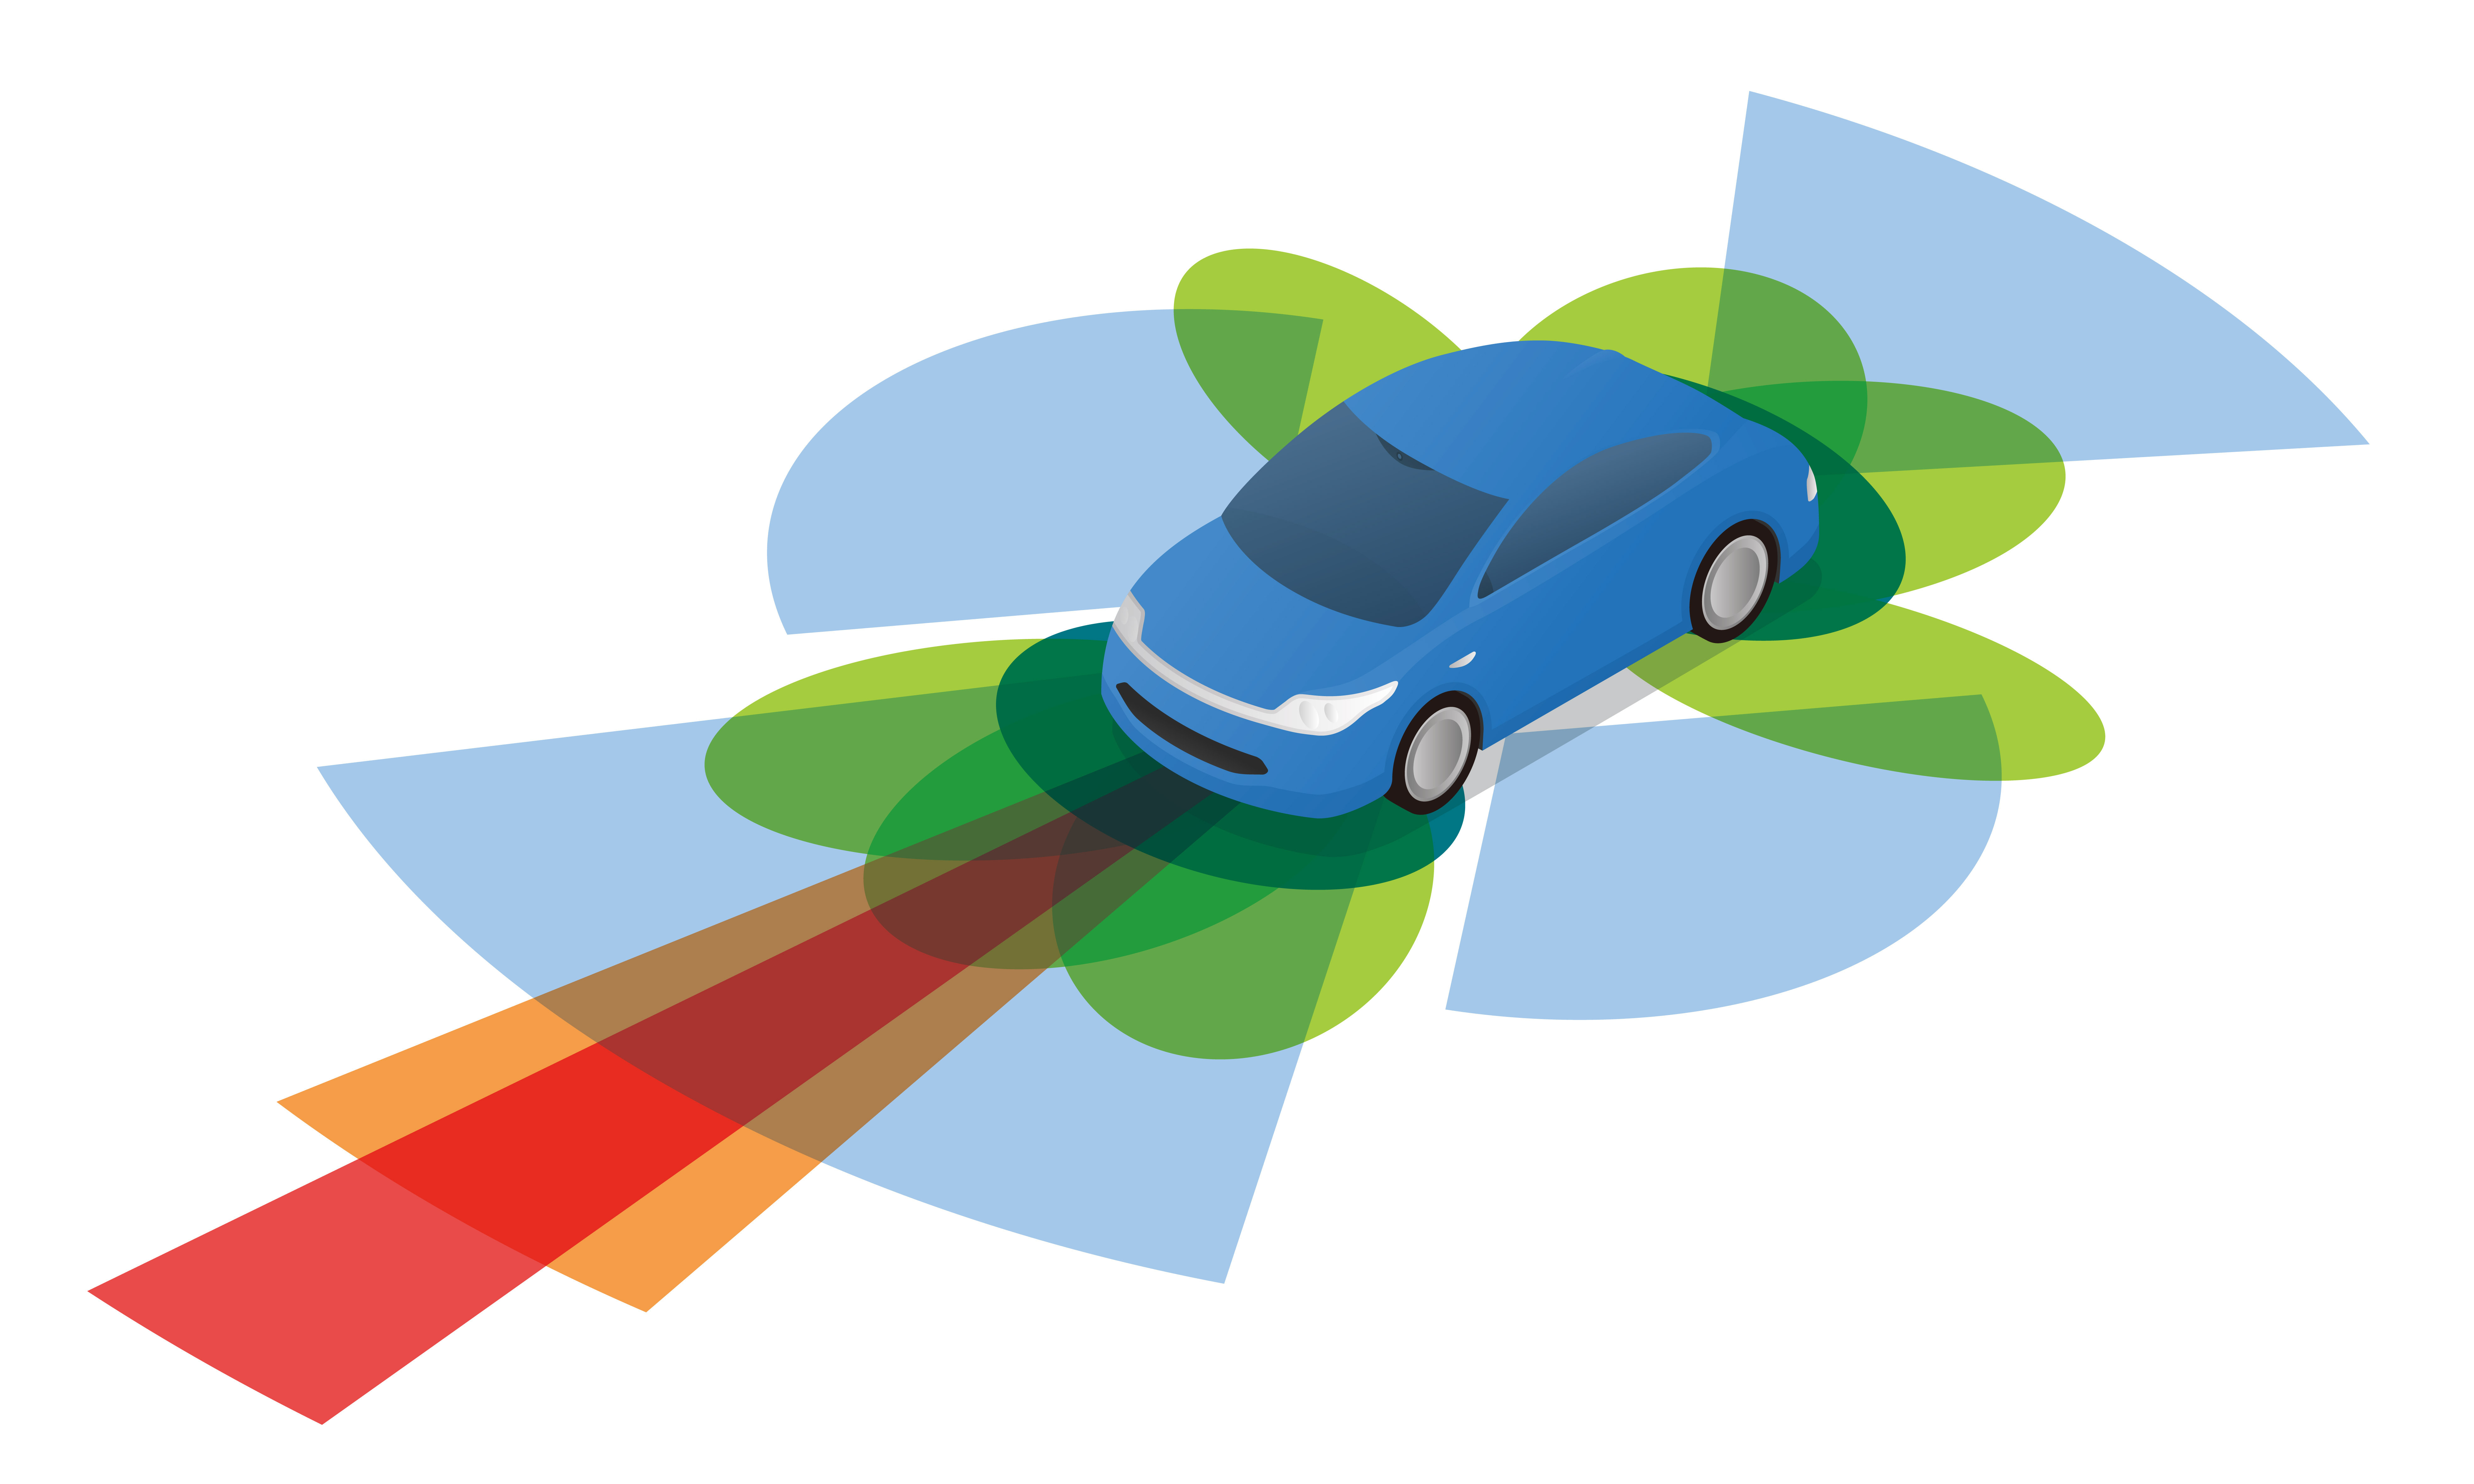
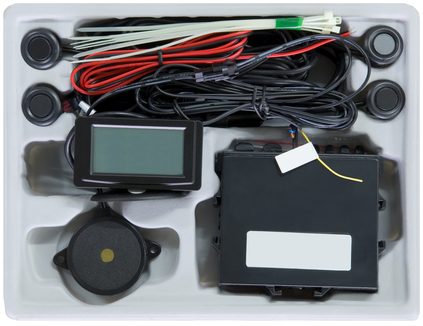 For precise results and safe manoeuvring with the park aid system, the exact positioning of the sensors is important. In most models, a sensor plate is added to the sensors through which the separate sensor cables run and which is installed in the rear of the car. A separate receiver is installed in the front, capturing the signals of the sensor plates and if necessary giving off optical warning signs. In a visual parking aid system the sensor signals are being transmitted continually, enabling a permanent view when reversing.
2.1 Applying the control unit and supplying it with electricity
 A parking aid is only necessary when reversing, and its activation should be linked to the corresponding gear. To begin with, the system’s control unit must be placed in the immediate proximity of the reverse light, whereby the electricity is supplied via the corresponding wire. This requires disassembly of the reverse light, which is easy accessible via the boot.
 Once the electricity supply is been taken care of, the control unit must be mounted in the rear of the car one of the side panels of the boot. It is possible to supply electricity by way of the loudspeakers or other equipment as well. Every parking aid set is equipped with a manual indicating the most suitable option.
2.2 Placing the parking sensors
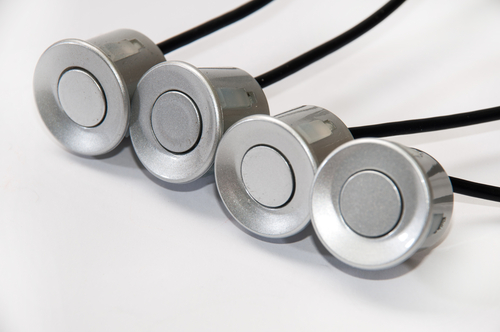
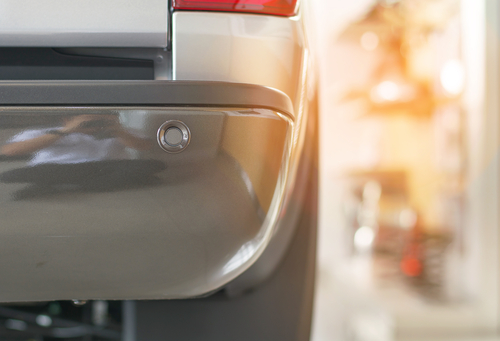
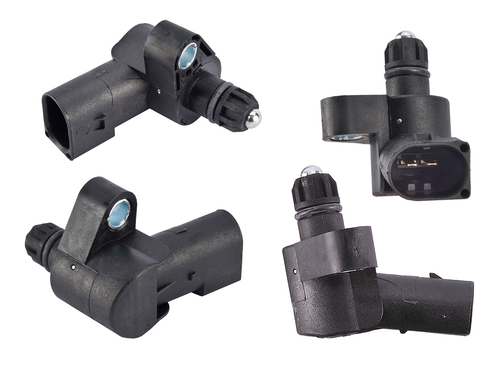 Depending on the car model and system, the sensors are installed in 50 – 70 cm height on the car. Most systems work with four separate sensors, placed centrally and left and right outward. When installing the sensors their adjustment must be considered. There is the risk of horizontal instead of vertical mounting, causing the road to be perceived as an obstacle in dangerous proximity. Generally the rule applies: the deeper the sensors are placed in the car, the flatter their adjustment angle must be chosen.
Having determined the ideal position for the sensor, mill small holes in the bodywork at the spot where the bumper was disassembled; this with secure a better result than plain drilling. The sensors are now fixed with their back side and connected to the control unit by way of the supplied cable. Modern sets also have cable straps to enable fixing the wiring against the bodywork. The sensors are generally mounted on the corresponding sensor plate, from which the tape must be removed first. It is recommended additionally fixing the sensors with glue, which in no circumstance may come into contact with the sensor membranes.
2.3 Wiring and other connections
 As soon as all sensors are fixed in their place, a cable harness must be made with the wiring. This is strongly recommended to prevent a wire mess in the interior. The cable harness should not be attached to the bumper but to the car itself. Cable straps are provided, enabling a simple fixing to the bottom of the bodywork. Through here, a connection with the control unit in the boot can be made.
When the sensors are connected, the other components such as loudspeaker or display can be connected to the control unit. When this is done, place the bumper back and test the new system: The basic function is in most appliances guaranteed if you hear the first signal sound when changing into reverse.
 Important tips: what to consider during installation
 – Modern systems have intelligent sensors conducting an automatic programming of the control unit. Therefore it is important that in the first minutes no obstacles are placed right in front of the sensors. Otherwise the parking aid system is being calibrated with faulty proximity and measuring data from the start. – Modern systems have intelligent sensors conducting an automatic programming of the control unit. Therefore it is important that in the first minutes no obstacles are placed right in front of the sensors. Otherwise the parking aid system is being calibrated with faulty proximity and measuring data from the start.
|
 – No matter how sensitive the separate sensors are – an absolutely robust and safe installation is required. They must after all remain in their place for thousands of miles over different terrains and transmit precise data to the control unit when parking. – No matter how sensitive the separate sensors are – an absolutely robust and safe installation is required. They must after all remain in their place for thousands of miles over different terrains and transmit precise data to the control unit when parking.
|
 – When purchasing your parking aid, check which optional accessories are available. This might not be interesting at initial installation, but in the course of car use might become essential. Popular accessories for retrofitting are the automatic sound muffler of the radio or the manual trailer switch. – When purchasing your parking aid, check which optional accessories are available. This might not be interesting at initial installation, but in the course of car use might become essential. Popular accessories for retrofitting are the automatic sound muffler of the radio or the manual trailer switch. |
Foto: andreaciox, Greentellect Studio, Parkheta, chartphoto, AVN Photo Lab, Filip Miletic, l i g h t p o e t, Sharomka, Neirfy, MicrostockStudio, otomobil, chombosan, AXL / shutterstock.com


 (10 votes, average: 3.80 out of 5)


