

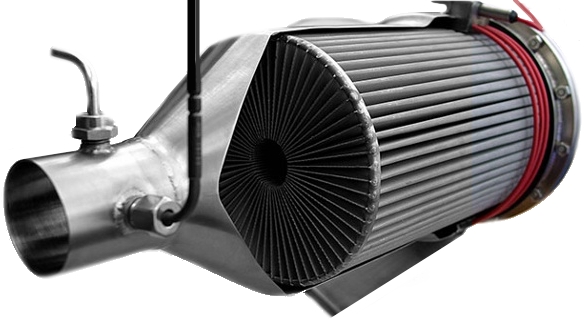
High-grade diesel particulate filters (DPF) are installed in all modern cars, and they ensure control over exhaust emissions. Over time this component wears out and can no longer adequately perform the filtering function. Herein we will advise you on how to perform a DPF or particulate filter replacement and give you some tips on this important spare part.
Soot particles cause considerable environmental pollution. Consequently, several European cities decided to implement environmental areas. Compared to a petrol car, a diesel car is the worst environmental sinner.
What is important for DPF replacement
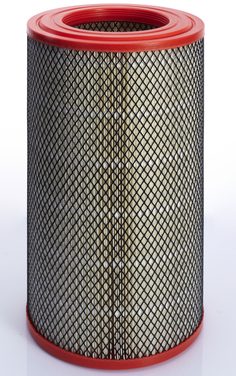
 You shouldn’t buy just any particulate filter for your car. This would become apparent at the next MOT inspection and then, the installation of a fitting filter would be required. As a rule you depend on branded products of renowned manufacturers or their suppliers to ensure that the filter matches the car and performs its task optimally. Solutions can be found online, which is cheaper than the local car part suppliers’. Its suitability for your car however has the highest priority. You shouldn’t buy just any particulate filter for your car. This would become apparent at the next MOT inspection and then, the installation of a fitting filter would be required. As a rule you depend on branded products of renowned manufacturers or their suppliers to ensure that the filter matches the car and performs its task optimally. Solutions can be found online, which is cheaper than the local car part suppliers’. Its suitability for your car however has the highest priority. |
 Modern model series automatically indicate the moment for particulate filter replacement. Your dashboard has a corresponding light or display. At these signs you should not postpone either replacement or visiting the garage. Especially in case of regular car use, serious and costly damage may occur. Modern model series automatically indicate the moment for particulate filter replacement. Your dashboard has a corresponding light or display. At these signs you should not postpone either replacement or visiting the garage. Especially in case of regular car use, serious and costly damage may occur. |
Replacing or cleaning the particulate filter?
 A dashboard warning does not always means that replacement is necessary. This can be often avoided by thorough and professional cleaning of the filter. The amount of work should not be underestimated. Only professional cleaning executed very precisely in order to avoid damage to the filter, will cause the warning on the dashboard to disappear again.
Furthermore, even after cleaning the available filter will no longer be intact. At least its wear will progress significantly quicker than with a new particulate filter. The corresponding warnings can be anticipated in a medium-term future. The cleaning of the filter is therefore merely puts off the sooner or later unavoidable filter replacement.
 Please note: in order to avoid damage, the car shouldn’t be used at least until 48 hours after filter cleaning. This is a considerable disadvantage in comparison to the installation of a new filter, which is done in a couple of hours, making your car immediately available for use.

Soot / particle filter • Newlimited offers!Order online ⇒ |
Particulate filter replacement
– our tips and instructions
 The reason for cleaning being preferred over complete replacement has a simple reason: the manual replacement is rather complicated. In most model series, the DPF is narrowly fitted and requires disassembly of a whole set of other components. For a safe replacement, the filter must be accessible from above as well as from below. No tricks apply here. A professional with the right tools requires a couple of hours for this replacement; a layman might need a whole day. Consider carefully if you want to replace the particulate filter yourself.
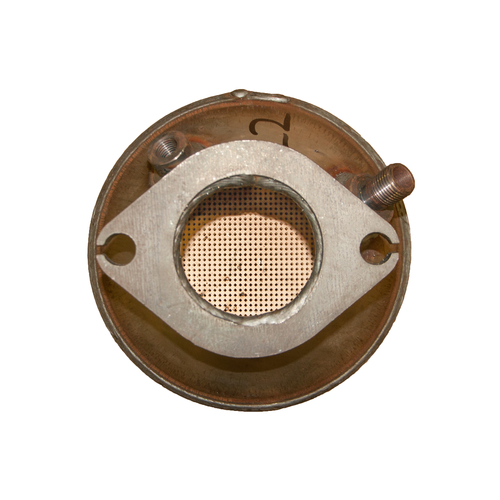
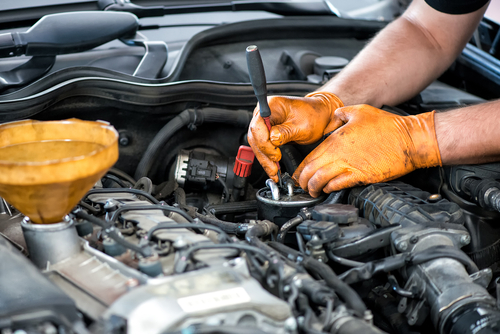
Checking location and proper tools
 Particulate filter replacement is also a challenge because of the special tools needed.
Therefore, prior to attempting it, check if you have all the necessary tools in the proper size at hand.
Especially when screws must be unfastened with a ratchet, you might find yourself without the fitting spanner in the right width.
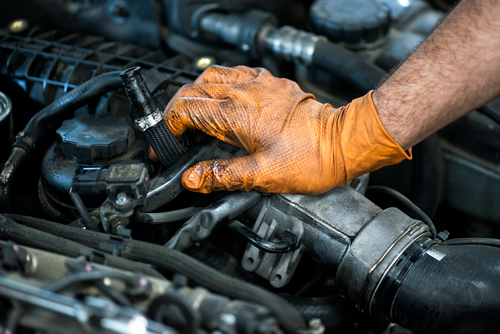
Generally, the particulate filter is visibly located in the engine. In case of doubt, the car manual helps with locating it. It immediately becomes clear that the particulate filter is closely surrounded by several other components. Check if their disassembly corresponds with your skills and if you have the required tools. Unprofessional replacement can lead to engine damage and therefore in case of doubt, it is better to contact a garage.
Removing and replacing the particulate filter
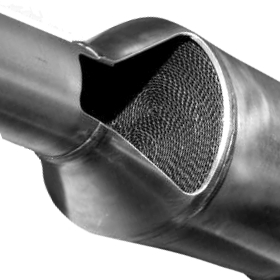
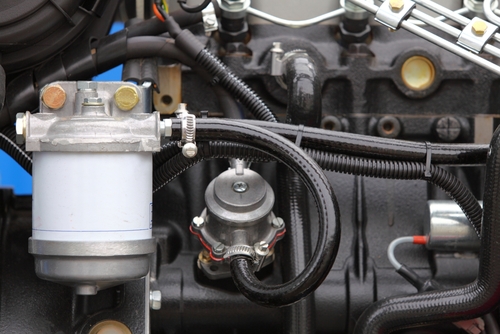 Viewed objectively, the replacement of the filter is rather simple. The filter housing is mounted at both extremities with two or more screws, which can carefully be loosened after uncovering the component. The particulate filter can then be removed. For additional fixation on the car, the particulate filter has another screw connection with the support beam of the car. This is only accessible from underneath. It is important to plan your strategy for getting access to the filter housing on beforehand. Ensure that you know where to place back all the different clamps and screws.
 Separate parts which might be an obstruction cannot easily be removed. Here, special care is required to prevent damage. You rather not remove the lambda sensor or you might not be up to it, although it might prevent the simple removal of the unscrewed filter housing. Work very precisely and without haste, in order not to cause additional damage to the car.
 When the old filter plus housing is unscrewed, apply the new model carefully. Considering the surrounding parts, you only need to mount it to the car and the connecting tubes. This applies to all other parts which were previously disassembled and must now be re-installed in their original position.
Testing a new particulate filter
 If the DPF replacement has been correctly executed, you will no longer receive warnings on your dashboard. Whether the filter meets all ecological standards, will only become apparent after use of the car. After driving, inspect the engine and the screw connections. If they show soot, or there are visible discolorations, the filter has not been fitted properly. This can happen if you do not use original parts and the spare part is several millimetres bigger or smaller. This might not immediately show at MOT inspection, but can possibly affect the exhaust values.
Further tips on a particulate filter
– As mentioned above, it might be preferable to start with a cleaning. Plan it carefully in view of MOT inspection. Do not unnecessarily postpone the filter cleaning as soon as you get a warning signal on your dashboard. Clever handling and intuition is required here.
– Do not underestimate the necessity of a precisely fitting spare part. If you want to save money on original parts, inform yourself at online purchase about the right measurements. Be sure to measure these to the millimetre upon receipt of your spare part. Especially in case of such an important car part such as the particulate filter, faulty data in the description are sufficient reason for a complaint.
Foto: takoburito, Conny Skogberg, LI CHAOSHU, Photology1971, Voyagerix, Petar Ivanov Ishmiriev, Chere / shutterstock.com


 (8 votes, average: 3.50 out of 5)


