

If the engine makes a nasty squeaking sound, it is generally the V-belt or its most modern form, the v-ribbed belt. It is important to check this wear part thoroughly. Otherwise it might rupture, and the units driven by the belt will fail completely. To prevent this, you can replace the V-belt or v-ribbed belt yourself. How this works, you can read below!
How the V-belt functions?
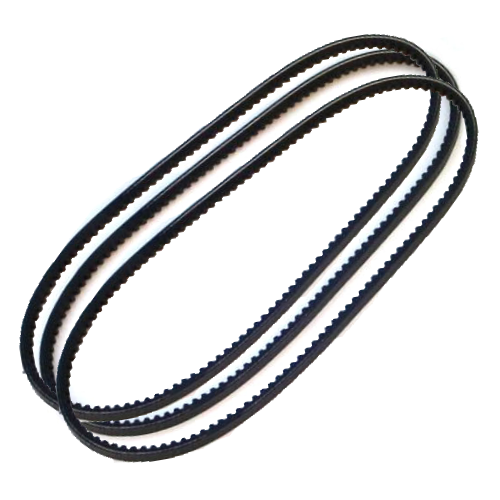
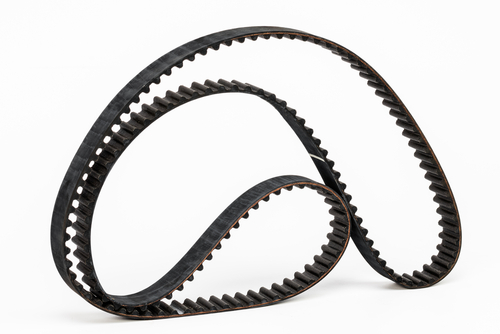
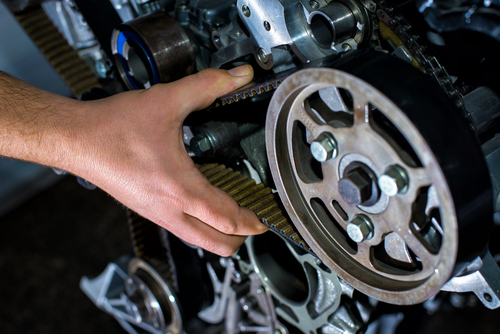
 The V-belt drives the so-called auxiliary units; originally these were the generator and the cooling water pump, but nowadays, the power steering pump and the air conditioning compressor are driven by the V-belt as well. The V-belt functions friction-locked, the v-ribbed belt works keyed and friction-locked. Both are under permanent strain and friction, weakening the material over time. At a certain moment the belt is stretched up to a point that the tension is no longer at the required level. The belt slips and gives off a typical squeaking sound. This is the moment for the driver to inspect it more closely. The V-belt can be checked with a finger test. If it can be pulled with one finger, the tension is no longer sufficient. If the material has fissures, the belt must be replaced. If it still looks good, it can be tensioned.
V-belt for bargain pricesnow up from £ 9,71to the shop ⇒ |
 Several dealers offer so-called V-belt sprays and some internet fora recommend holding a burning candle or a piece of soap close to the belt. All these methods are highly controversial and only temporarily remove the symptoms (the squeaking sound) but not the cause. If the V-belt is fully ruptured, the AA can help and replace it on the spot. The emergency solution with a panty only helps in older cars and should no longer be used.
Manual: tightening the V-belt
![]() Please note: this method does not work in all cars!
Please note: this method does not work in all cars!
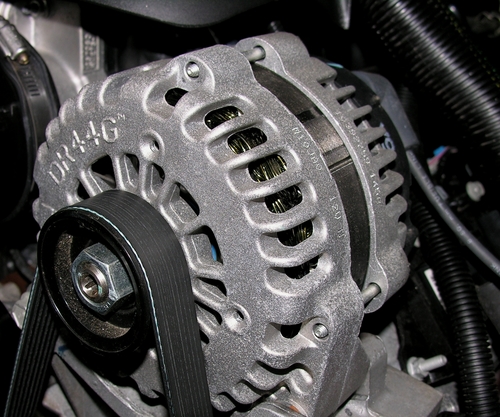
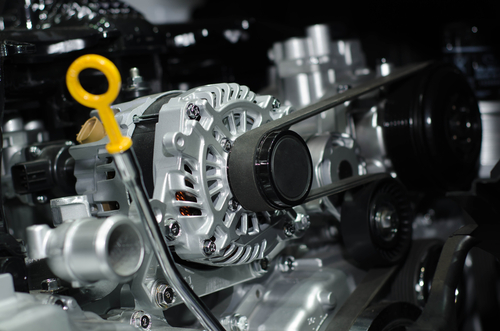 Step 1: Localise the generator in your car. If you have trouble finding it, follow the battery cable or consult the car manual. Step 1: Localise the generator in your car. If you have trouble finding it, follow the battery cable or consult the car manual. |
| Step 2: Localise the locking bolt. It can be found where the generator is mounted on a kind of rails and can be loosened with a spanner. Completely unscrewing it is hardly ever necessary. |
 Step 3: The rail should have an adjustment screw. Unscrew it with the spanner and slide the generator backwards far enough for the V-belt to be properly tightened again. If necessary adjust the generator with a couple of blows with a rubber hammer. Step 3: The rail should have an adjustment screw. Unscrew it with the spanner and slide the generator backwards far enough for the V-belt to be properly tightened again. If necessary adjust the generator with a couple of blows with a rubber hammer. |
| Step 4: Screw the nuts and then the locking bolt tight again. |
 Step 5: Start the engine and check if the V-belt still makes a squeaking sound. If this is not the case, the repair was successful. Step 5: Start the engine and check if the V-belt still makes a squeaking sound. If this is not the case, the repair was successful. |
V-belts and labels – how to find the right one
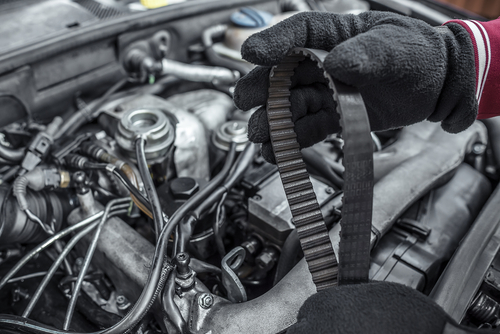
If a V-belt has tiny cracks or the material is porous, showing small holes, replacement is unavoidable. All V-belts and belt fans have a special designation allowing you to quickly find the matching replacement. This designation could look as follows:
XPZ 562 LW
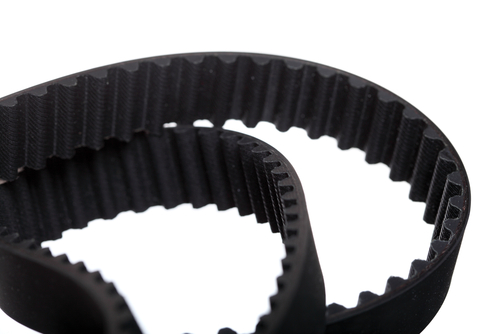 The first letters (they can be numbers as well) indicate the profile. There are several profiles: XPZ means V-belt with narrow profile, cogged; ZX is for V-belt, cogged and B means the traditional V-belt profile. The second position always has a number. Pay attention here. If this is a value without prefix, this is a reference length. Is it, like here, combined with LW, this indicates the actual metric length, in this case 562 mm.
V-ribbed belts have these designations as well, such as
8PK720
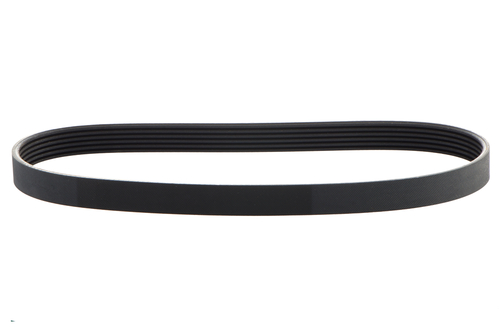 The first number indicates the amount of ribs, in this case 8, followed by a profile indication (profile K) and ultimately the reference length in mm. No matter if it concerns a V-belt or a v-ribbed belt, it always has a designation which should make it easy to find. If there is no designation available, it is possible to find the right spare part at the dealer’s with help of a product list and key numbers. The car manufacturer hardly ever recommends a specific belt because these are more or less standard parts. A squeaking V-belt is not a MOT or DEKRA defect as such, merely an indication. A porous or damaged belt constitutes a defect.
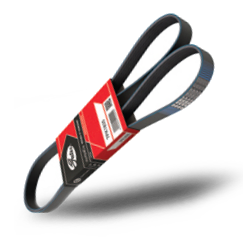
Ribbed belts in top qualityup from only £ 2,08Order online ⇒ |
 Step-by-step:
Replacing the V-belt/V-ribbed belt
![]() Please note: in some cars, instead of the usual ribbed V-belts, the so-called elastic belts are used. For this belt, no tensioner pulley or other tensioning components are present. Replacing elastic belts requires special tools and a lot of force. This replacement can only be done in a garage.
Please note: in some cars, instead of the usual ribbed V-belts, the so-called elastic belts are used. For this belt, no tensioner pulley or other tensioning components are present. Replacing elastic belts requires special tools and a lot of force. This replacement can only be done in a garage.
Required tools:
– car hoist
– or repair pit
– ring spanner or open-ended spanner
– mandrel
– or drill
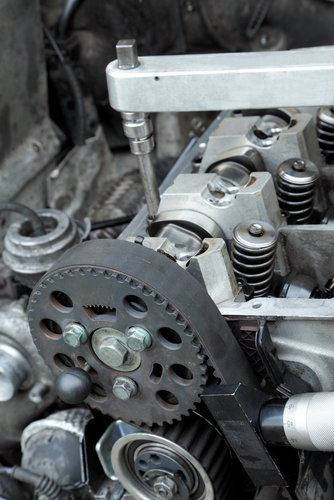
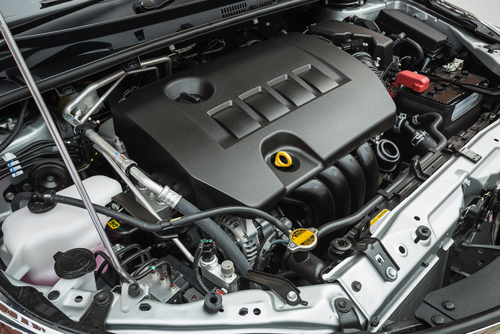 Step 0: Place the car on a car hoist or over a repair pit, open the bonnet and find the V-belt in the engine. Take care to remember over which pulleys it runs, so that you do not forget one in the end. If you are uncertain, make a picture. Step 0: Place the car on a car hoist or over a repair pit, open the bonnet and find the V-belt in the engine. Take care to remember over which pulleys it runs, so that you do not forget one in the end. If you are uncertain, make a picture. |
Step 1: For a V-belt: localise the generator and the rails on which it is mounted. There should be two screws and a bolt, or a bolt and a screw. Jack up the car. Loosen the first locking bolt / screw and then the adjustment screw. You need a spanner for both. 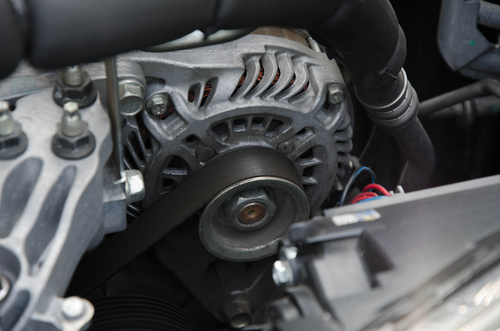 Slide the generator forward until the V-belt is completely slack. Let the car come down. Slide the generator forward until the V-belt is completely slack. Let the car come down.For a v-ribbed belt: find the generator and the affixed tensioner pulley. With an open-ended spanner, its tension lever can be pushed in the direction of the facing insertion so that both drilling holes are parallel. The position is fixed with the mandrel or small drill. The belt should now have lost its tension completely. |
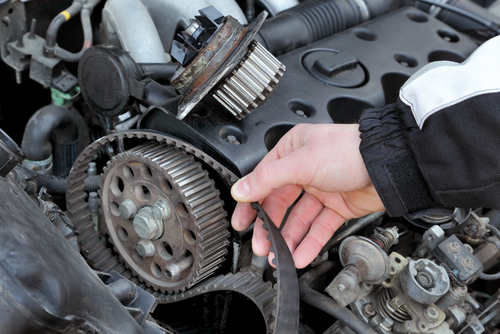
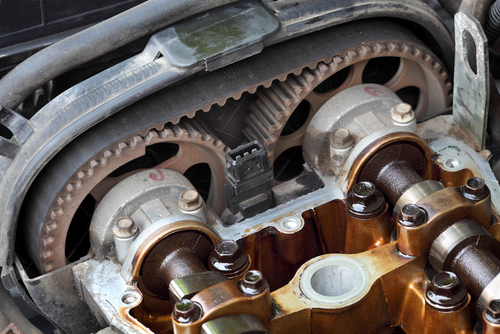
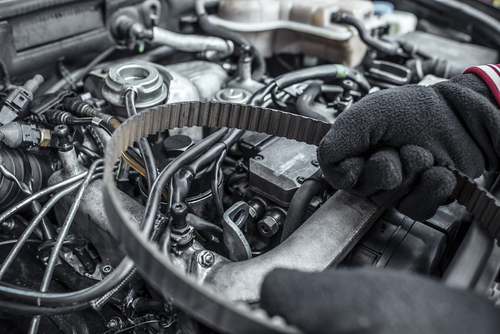 Step 2: Remove the old V-belt/v-ribbed belt and wipe the worst dirt from the deflection pulley. This is optional, but recommended to avoid remaining dirt grinding on the V-belt/v-ribbed belt. Step 2: Remove the old V-belt/v-ribbed belt and wipe the worst dirt from the deflection pulley. This is optional, but recommended to avoid remaining dirt grinding on the V-belt/v-ribbed belt. |
 Step 3: Apply the V belt/v-ribbed belt exactly like the old belt. In case of a v-ribbed belt, mind the right guiding. On no account it should protrude or shift sideways. Check this from underneath as well with the car on the hoist. Step 3: Apply the V belt/v-ribbed belt exactly like the old belt. In case of a v-ribbed belt, mind the right guiding. On no account it should protrude or shift sideways. Check this from underneath as well with the car on the hoist. |
Step 4: For a V-belt: Hoist the car again. Slide the generator backwards until the tension is sufficient. If necessary give a couple of adjusting blows with the rubber hammer against the generator. 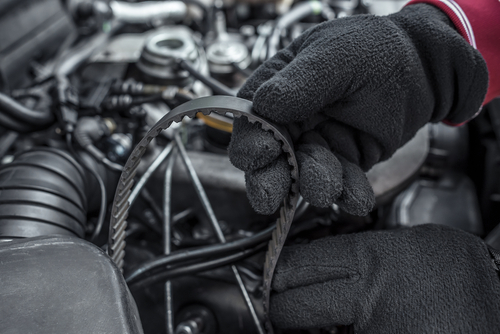 Then, tighten the adjusting screw with the spanner before tightening the locking bolt, for which you need the spanner as well. Bring the car down again. Then, tighten the adjusting screw with the spanner before tightening the locking bolt, for which you need the spanner as well. Bring the car down again.For the v-ribbed belt: Place the spanner at the tension lever, remove the mandrel or drill. Slowly bring the tension lever in its original position. This should happen automatically through the spring pressure. Pay attention to the v-ribbed belt and make sure it is positioned right in the middle everywhere. |
 Step 5: Test the belt tension with your finger. If you can no longer pull it in your direction with one finger, the right tension applies. Step 5: Test the belt tension with your finger. If you can no longer pull it in your direction with one finger, the right tension applies.Step 6: Sit in the car and start the engine. Pay special attention to the generator, check the power steering and the air conditioner. Listen to all sounds. If everything sounds normal and all systems are functional, the replacement is successful. |
Frequent errors and common ways to avoid them
Under normal circumstances, replacing a V-belt or v-ribbed belt is not a problem even for beginners. Nevertheless, problems can occur during the first drive after replacement. Here you read the most frequent errors and a possible solution.
 A squeaking sound from the engine – In rare case it happens for a V-belt to stretch slightly, causing the tension to be no longer optimal. In case of the v-ribbed belt, the spring tension should solve this automatically. In case of a V-belt, manual additional tensioning is necessary. If you feel that the V-belt does not maintain its tension, file a complaint. This is a material fault. A squeaking sound from the engine – In rare case it happens for a V-belt to stretch slightly, causing the tension to be no longer optimal. In case of the v-ribbed belt, the spring tension should solve this automatically. In case of a V-belt, manual additional tensioning is necessary. If you feel that the V-belt does not maintain its tension, file a complaint. This is a material fault. |
 One of the systems is not functioning – Especially engines with a v-ribbed belt drive are particularly complicated, as multiple units are belt driven. Despite adequate preparation you might have forgotten one of the units, although the engine runs perfectly. If this is the case, the whole procedure must be followed again. Take care to do the entire cycle. One of the systems is not functioning – Especially engines with a v-ribbed belt drive are particularly complicated, as multiple units are belt driven. Despite adequate preparation you might have forgotten one of the units, although the engine runs perfectly. If this is the case, the whole procedure must be followed again. Take care to do the entire cycle. |
 The battery light switches on/the board computer shows battery malfunction – As both V-belt and v-ribbed belt are responsible for the generator drive, unprofessional replacement can cause these symptoms. First and foremost: no panic as the battery charge will hold out for a while, if you switch off the main electricity consumers: air conditioner, car radio, navigation and heating. Then look for the error. Check if the drive wheel of the generator (connected to the V-belt) rotates. If this is the case, the connection with the battery must be checked. (Only on sight: do not touch!). If no error is found, possibly only the sensor is defective or the board computer is malfunctioning. This should be checked in a garage, which has the proper diagnostic device. The battery light switches on/the board computer shows battery malfunction – As both V-belt and v-ribbed belt are responsible for the generator drive, unprofessional replacement can cause these symptoms. First and foremost: no panic as the battery charge will hold out for a while, if you switch off the main electricity consumers: air conditioner, car radio, navigation and heating. Then look for the error. Check if the drive wheel of the generator (connected to the V-belt) rotates. If this is the case, the connection with the battery must be checked. (Only on sight: do not touch!). If no error is found, possibly only the sensor is defective or the board computer is malfunctioning. This should be checked in a garage, which has the proper diagnostic device. |
Foto: Ruslan Kudrin, charnsitr, J. Lekavicius, Phakdee kasamsawad, ThomsonD, Voyagerix, homydesign, Freedom_Studio, Denis Rozhnovsky, sima, Tom Oliveira, Photographee.eu / shutterstock.com


 (11 votes, average: 3.55 out of 5)


